At a recent technique class, I showed the participants how to use wax paper to create some beautiful backgrounds. This technique provides the look of an embossed image without the dimension by transferring the image to cardstock with the wax paper.
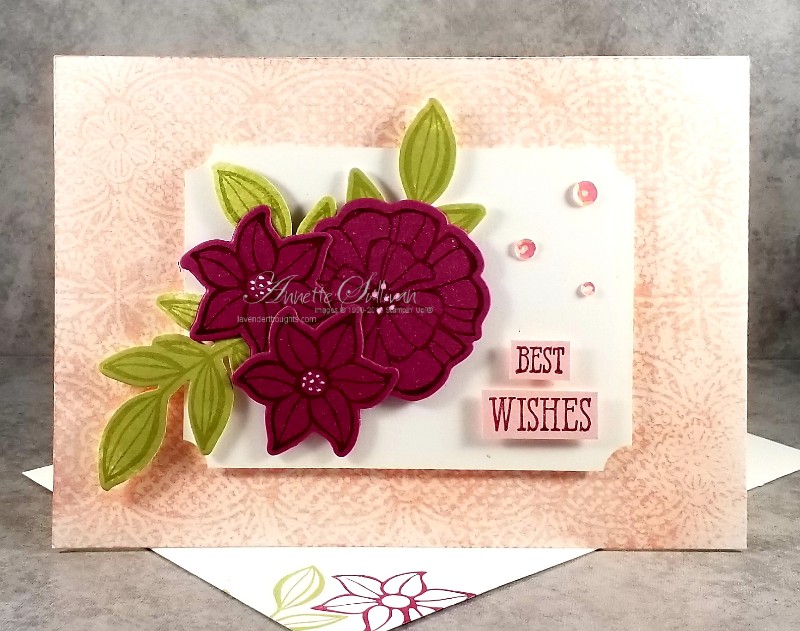
Here is the card that they made.
Tips:
- Instructions for the Wax Paper Resist Technique:
- Take a piece of wax paper and run it through an embossing folder OR crumple it up. If crumpled, smooth it out slightly so that it still has wrinkles.
- Place the embossed or crumpled wax paper between two pieces of card stock.
- Run a hot iron [no steam] over the card stock. The image will transfer to both pieces of card stock.
- Brayer or sponge over card stock with desired colours of ink. The ink will resist where the wax transferred the image.
- Rub a paper towel over the panel to remove any excess ink on the waxed parts.
- This will make two unique backgrounds – basically the embossed and debossed versions of the folder.
- The flowers and leaves images are from the now retired Falling Flowers stamp set and matching May Flower Dies. The inks and coloured cardstock are also retired.
- This design would work just as well with the To A Wild Rose stamp set and matching dies.
- Supplies:
- Stamp Sets: Falling Flowers, Well Said
- Cardstock: Thick Whisper White, Whisper White, Berry Burst, Powder Pink
- Ink: Powder Pink, Berry Burst, Pear Pizzazz
- Accessories: Lace 3D Embossing Folder, ½” Circle Punch, White Gel Pen, May Flowers Dies, Dimensionals, Iridescent Sequins, Wax Paper
.. and for the inside

Current Promotions:


Don’t despair Mal! This technique is quite deceiving. It is very difficult to see the design that has been transferred until you sponge some ink on it. Keep on persevering. xx
LikeLike
Annette, tried and failed miserably but I will retry tomorrow. Not sure I had the iron hot enough – frankly I have forgotten how to iron – dont use mine much anymore – too lazy and too old!!!!!! I love your techniques and thank you for sharing. XXX Mal
LikeLiked by 1 person