At a recent class, we used Blending Brushes to add a WOW factor to our projects. This is a long post so grab your favourite beverage.


Tips:
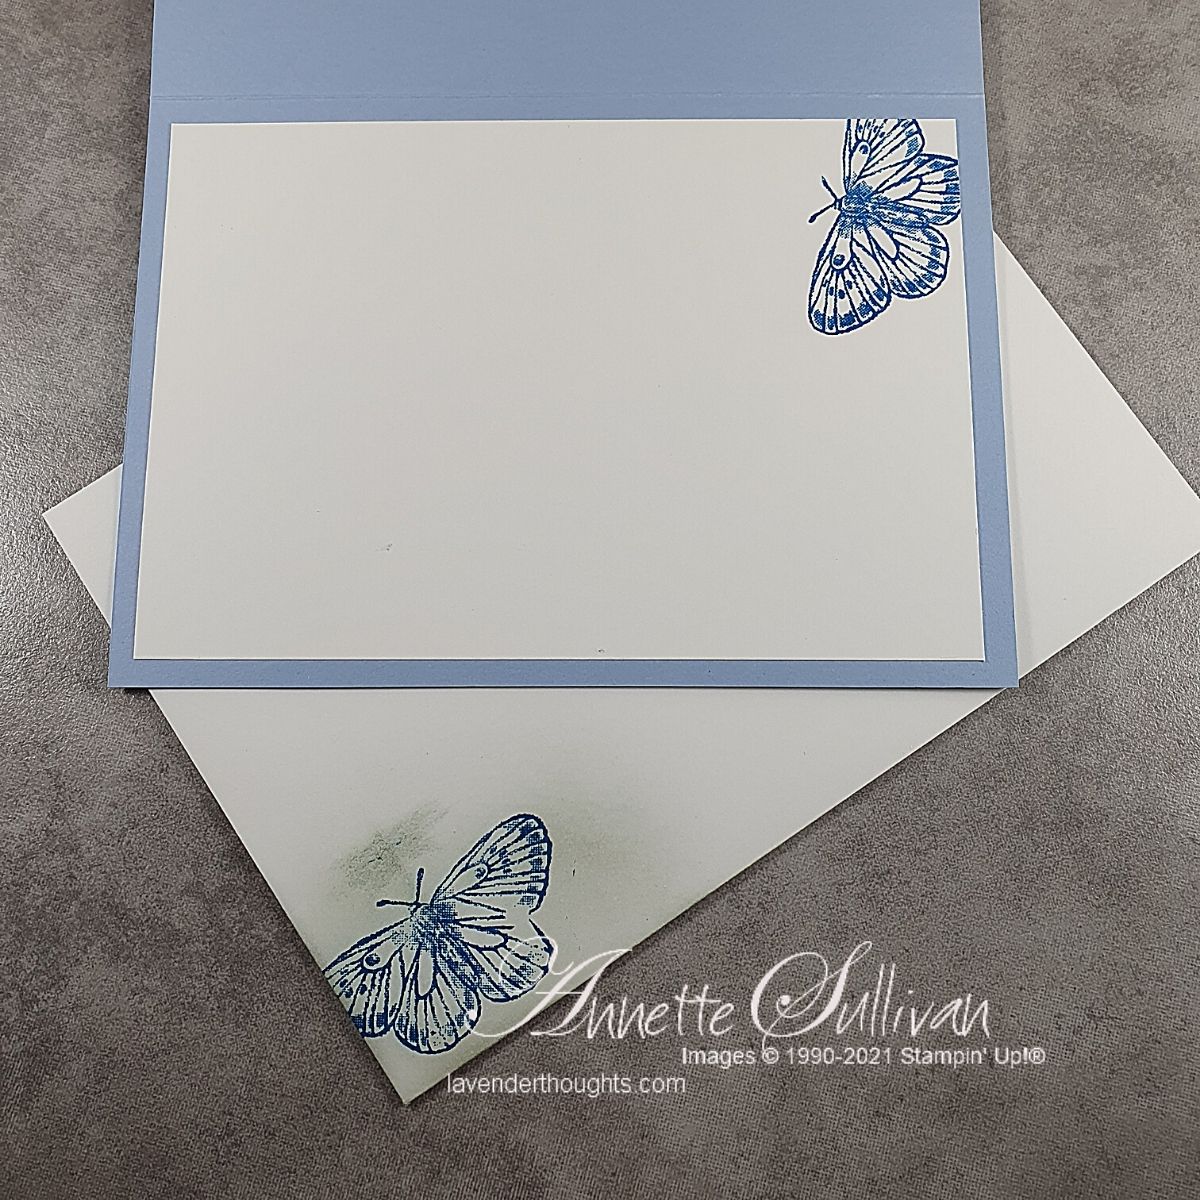
- Card 1:
- Die cut the solid group of butterflies with Basic White cardstock. Place the negative die cut over another piece of white and use a Blending Brush to add colour to the negative spaces. Choose a light ink for the blending.
- Keep the sponged piece with the negative die cut, line up the stamps and stamp the butterflies over the sponged area with a darker ink in the same colour. The Stamparatus is the best way to line this up.
- Add some splatters with a Water Painter.
- Use the checkerplate die on each end of a piece of coloured cardstock then attach the butterfly panel over it. Add to a matching cardbase.
- Add a sentiment of your choice (I have used the Many Messages set).
- Supplies:
- Stamp Set: Butterfly Brilliance, Many Messages
- Cardstock: Seaside Spray, Basic White, Basic Black
- Ink: Versamark, Seaside Spray, Pacific Point
- Accessories: White Embossing Powder, Messages Die, Brilliant Wings Dies, Blending Brushes, Water Painter, Dimensionals
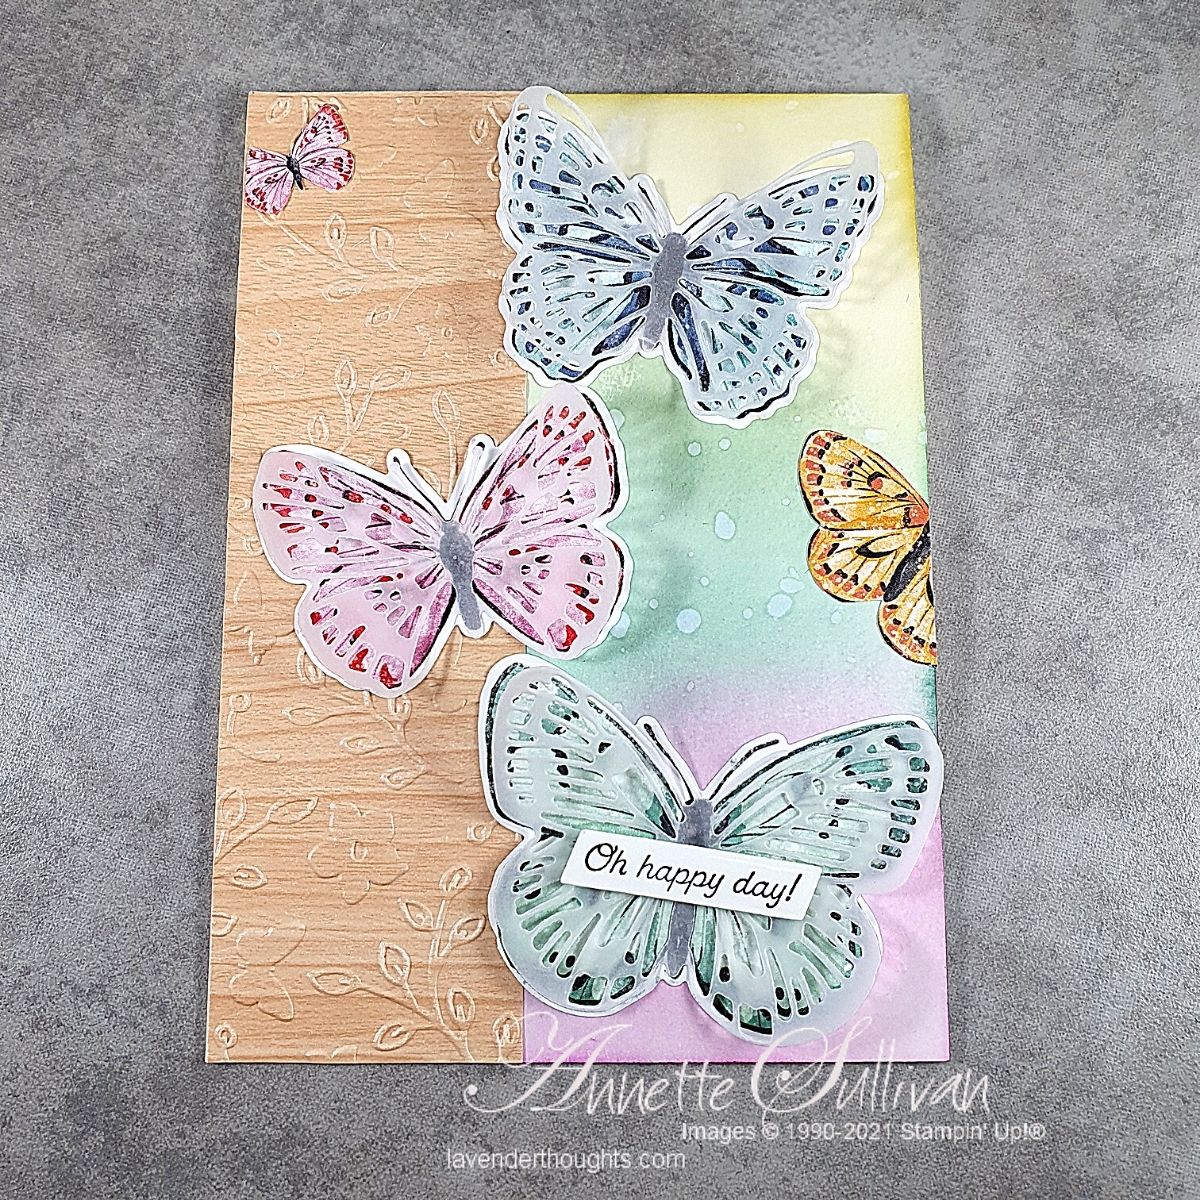
- Card 2:
- Stamp the butterflies with Memento Tuxedo Black on Basic White cardstock and colour with Stampin’ Blends.
- Die cut with matching dies.
- Die cut filigree butterflies using Vellum cardstock.
- Use Blending Brushes to add So Saffron, Just Jade and Magenta Madness inks to the front of a Thick Basic White card base. Add water splatters with a Water Painter.
- Emboss a strip of Natural Touch Specialty Paper with one of the Meadow Moments Embossing Folders and attach to the left hand side of the card front.
- Attach the coloured butterflies directly to the card and then add the vellum butterflies with adhesive only down the middle of their bodies.
- Add a sentiment of your choice.
- Supplies:
- Stamp Set: Butterfly Brilliance, Many Messages
- Cardstock: Seaside Spray, Basic White, Basic Black
- Ink: Versamark, Seaside Spray, Pacific Point
- Accessories: White Embossing Powder, Messages Die, Brilliant Wings Dies, Blending Brushes, Water Painter, Dimensionals
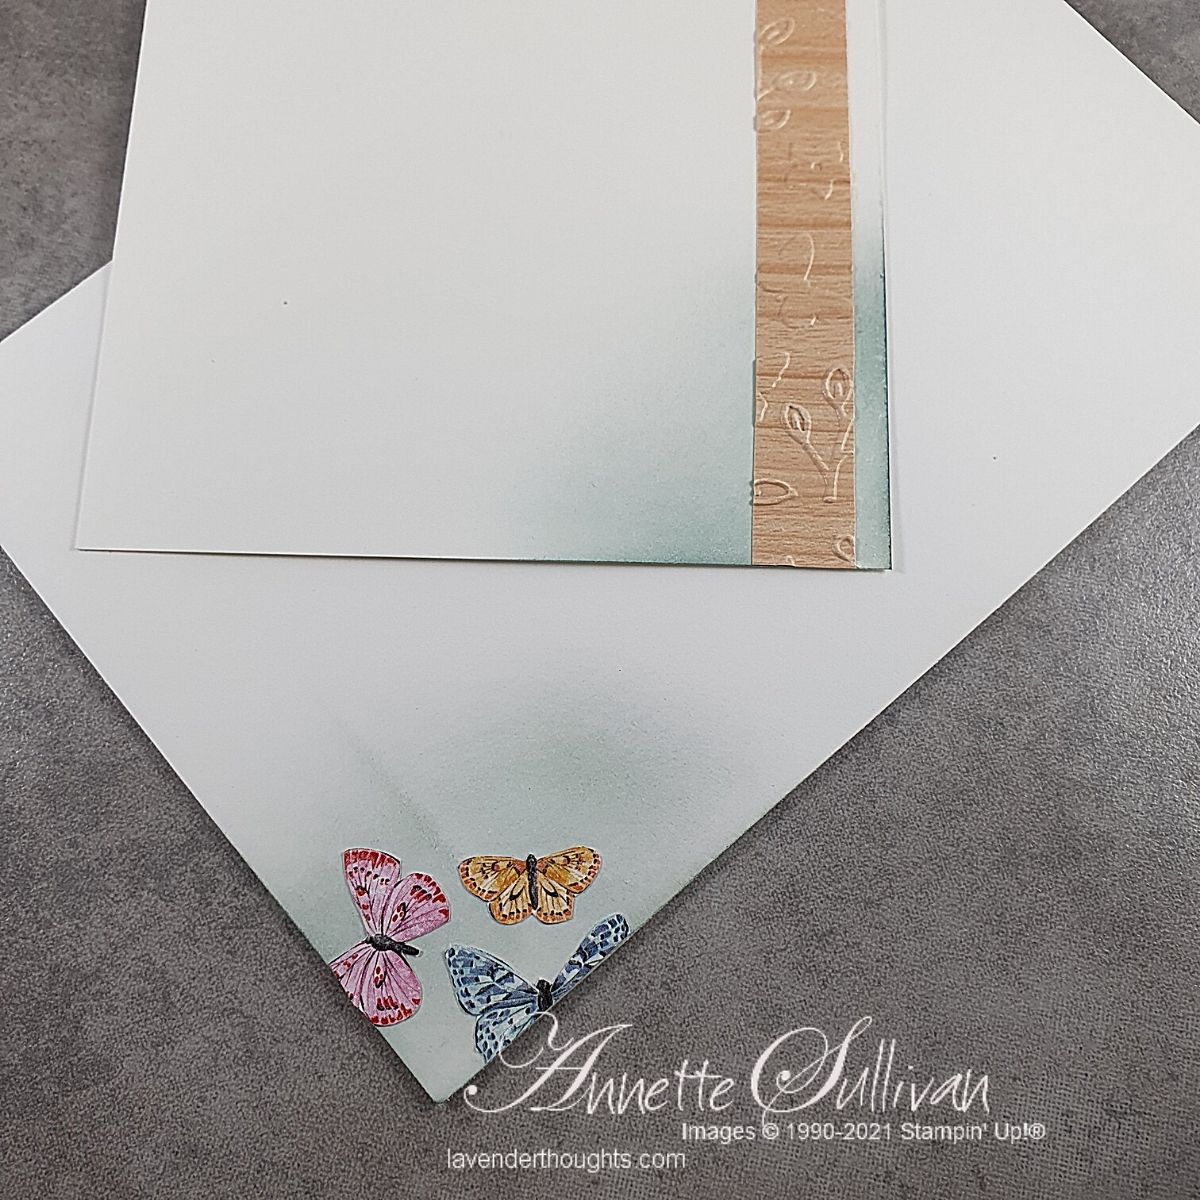
- Card 3:
- Cut a piece of Thick Basic White in half lengthways. Score in half and then cut 6cm (2¼”) off one side. This will be the front. The cut off piece will be used for the horizontal layer.
- I used the Butterfly Bijou DSP for my layers. Sadly this has now retired, but it is easily recreated with Blending Brushes and Water Painter for the background and then stamp and colour some butterflies.
- Use Blending Brushes and Water Painter on the inside of the card as shown above. This will ensure that when the card is closed, the backgrounds all match.
- Add a sentiment of your choice.
- Supplies:
- Stamp Set: Butterfly Brilliance, Many Messages
- Cardstock: Thick Basic White, Just Jade, Magenta Madness, Butterfly Bijou DSP, Basic White, Vellum
- Ink: Memento Tuxedo Black, Just Jade, Magenta Madness
- Accessories: Messages Die, Blending Brushes, Water Painter, Dimensionals
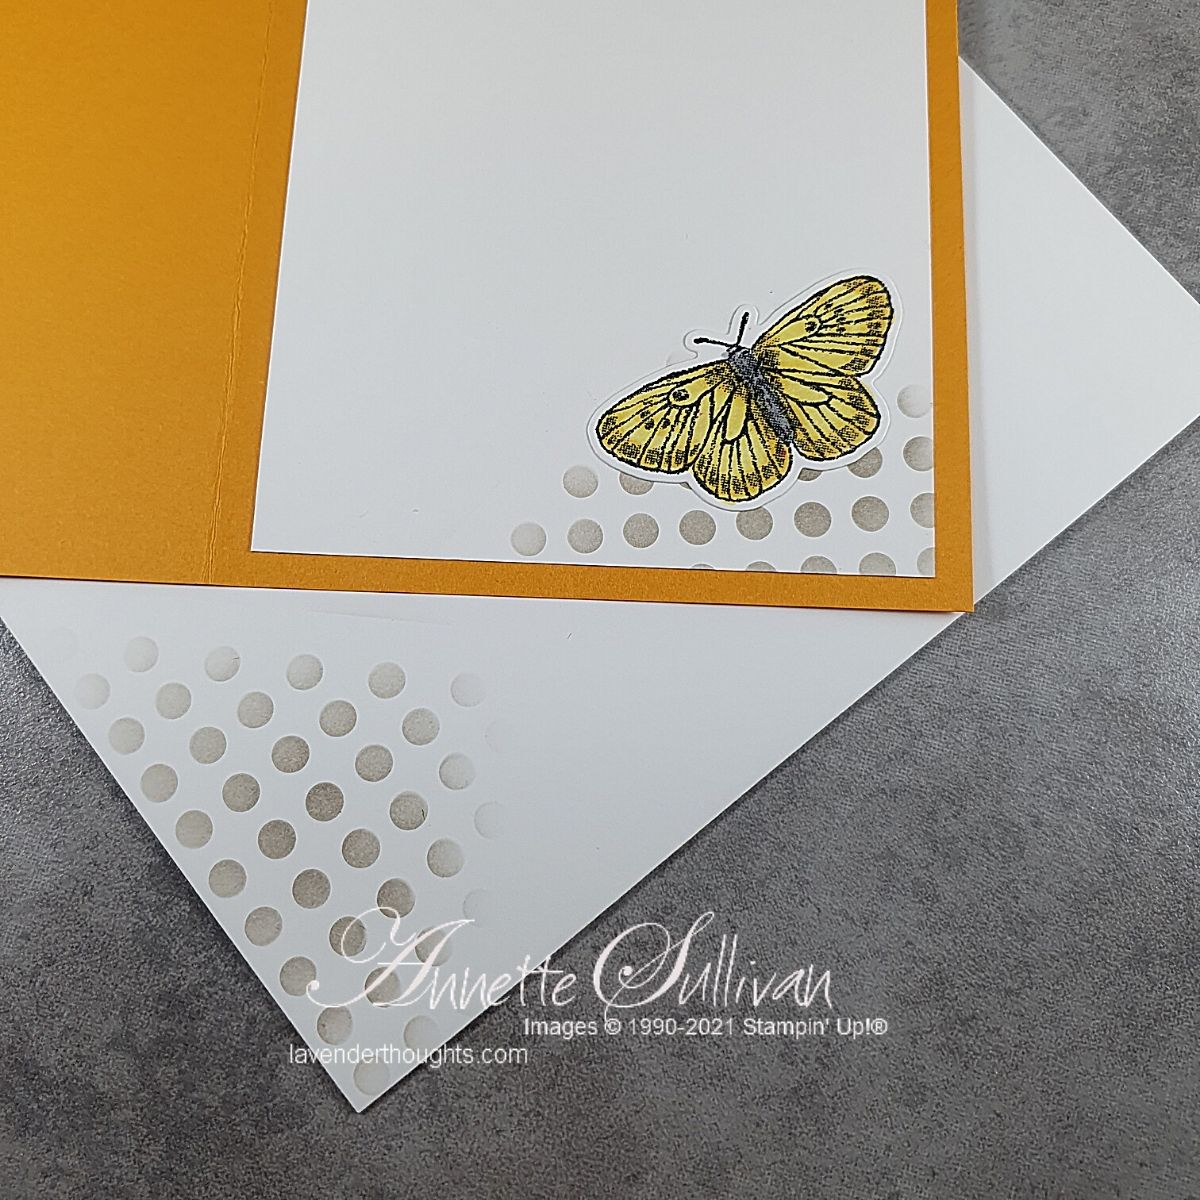
- Card 4:
- Use a Blending Brush with one of the Basic Patterns Decorate Masks and Gray Granite ink on Gray Granite cardstock. Vary the pressure so that the pattern is ombre style. Attach to a Mango Melody cardbase.
- Die cut a Vellum circle and attach to the top of the masked layer.
- Attach a piece of Silver Metallic Edge Ribbon across the lower third of the vellum circle.
- Stamp, colour and die cut the largest butterfly and attach over the vellum circle with Dimensionals. Add some Rhinestones along the body and Wink of Stella on the wings.
- Add a sentiment of your choice.
- Supplies:
- Stamp Set: Butterfly Brilliance, Many Messages
- Cardstock: Mango Melody, Gray Granite, Vellum, Basic White
- Ink: Memento Tuxedo Black, Gray Granite
- Accessories: Messages Die, Brilliant Wings Dies, Layering Circles Dies, Silver Metallic Edge Ribbon, Rhinestones, Wink of Stella, Dimensionals, Basic Patterns Decorative Masks, Blending Brushes

Current Promotions:


