Gate fold cards have been around for a long time, with many variations. Today I am going to show you how to make a locking gate fold card.
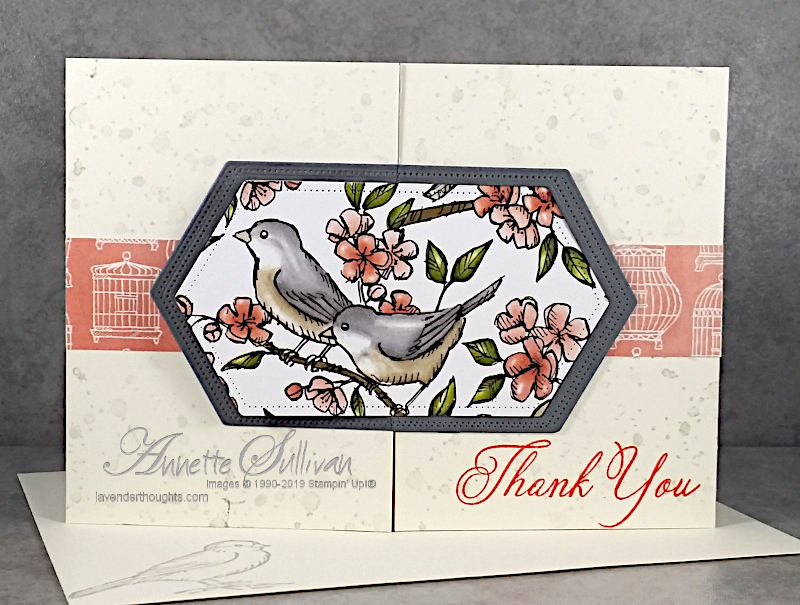
Here it is closed ….
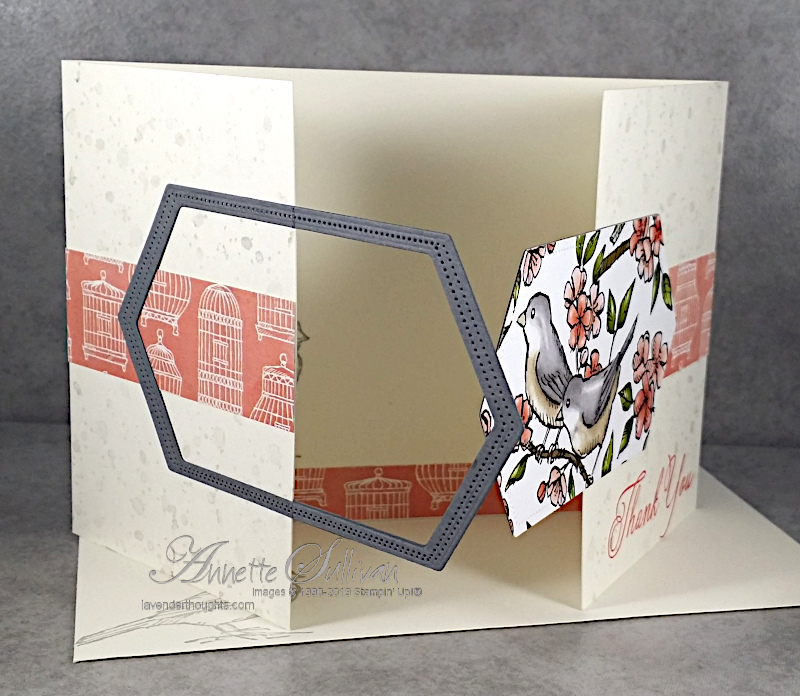
This is partially open ….
Tips:
This takes a standard gate fold card a step further using stacking dies to create a ‘lock’ on the front of the card. The card can be either portrait or landscape, the lock works the same way. Today I have a landscape card.
- Supplies:
- Stamp Set: Hugs From Shelli, Free As A Bird
- Cardstock: Thick Very Vanilla, Basic Gray, Bird Ballad DSP
- Ink: Calypso Coral, Sahara Sand
- Accessories: Stitched Nested Labels Dies
- Landscape Measurements:
- Cardstock 29.7cm x 10.5cm
- On the long side, score at 7.4cm from each end.
- The finished closed card will be 14.8cm wide by 10.5cm tall.
- Locking Mechanism:
- DECORATE THE CARD BASE BEFORE STARTING THIS STAGE.
- Take two stacking dies (any shape) ensuring that the difference in size will give you a frame of at least 0.5cm.
- Die cut the larger die with coloured cardstock.
- Centre the smaller die on the die cut piece and die cut. You will then have a larger frame and a smaller shape.
- Repeat steps 2 and 3 with another piece of the same cardstock.
- Die cut an art panel from neutral cardstock with the smaller die. Stamp or decorate and attach to one of the coloured shapes the same size.
- Take one of the frames and centre it across the gate fold opening. Adhere to the left hand side of the gate fold.
- Open the gate fold and attach the other frame over the first one. This will give it added strength. See picture below.
- Close the gate fold and place the art panel inside the frame and adhere it to the right hand side of the gate fold.
- You now have a locking mechanism on your card.
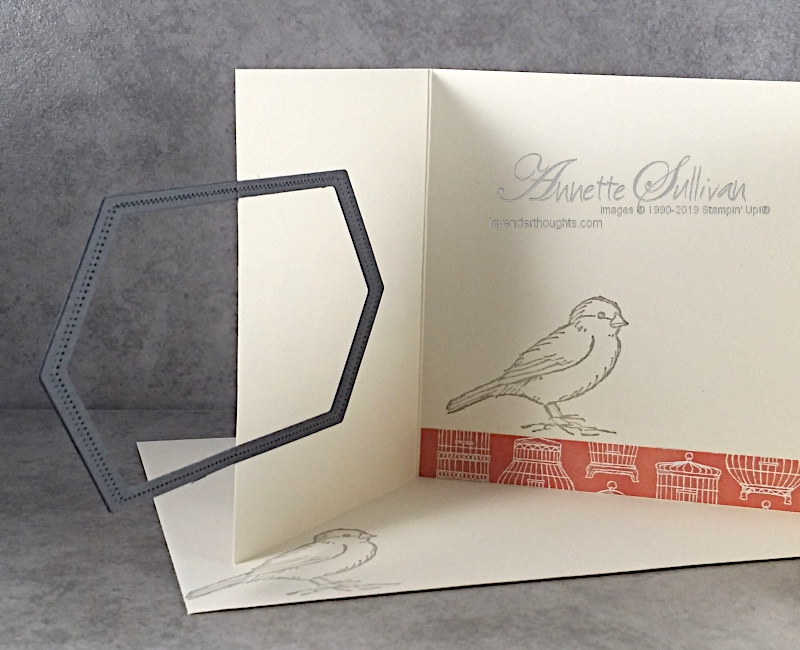
… for the inside and envelope. You can see the extra frame on the inside to give more stability.
Please leave me a comment if you have any questions.
Current Promotions:


One thought on “Learn how to create a Locking Gate Fold Fancy Fold Card”