The Book Binding Technique is a quick and easy way to showcase your favourite Designer Series Papers and create a WOW look. I have quite a few samples for your inspiration today. There are two basic cards – portrait and landscape. However, each of these can be ‘turned’ so that you end up with 4 designs. I will have all the measurements and instructions at the end of this post.
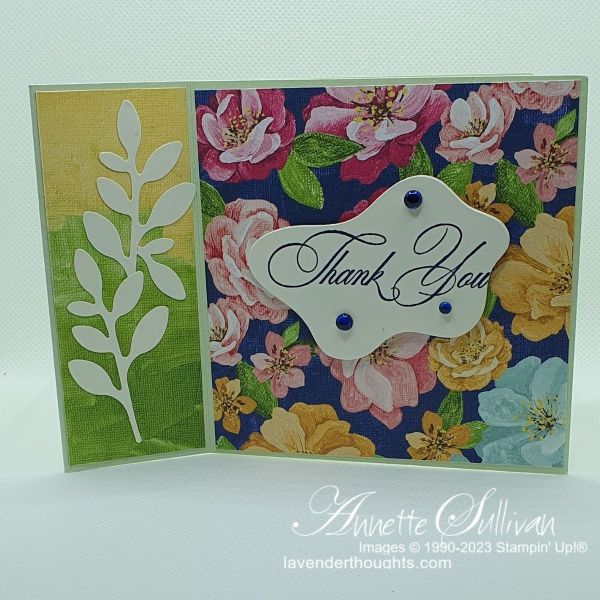
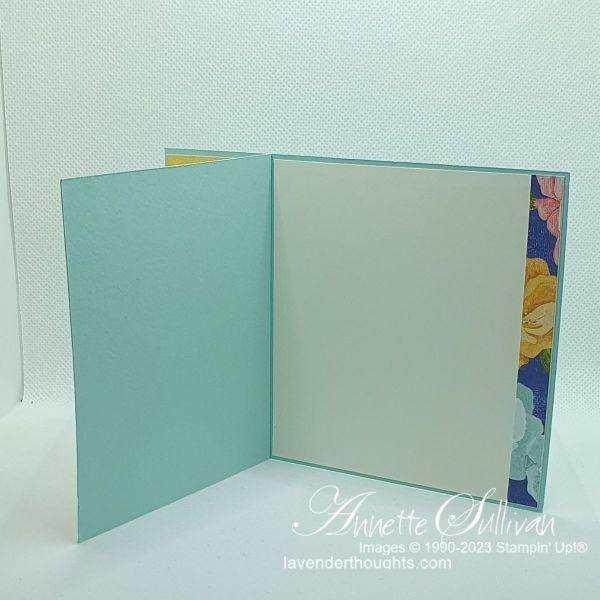
Design 1:
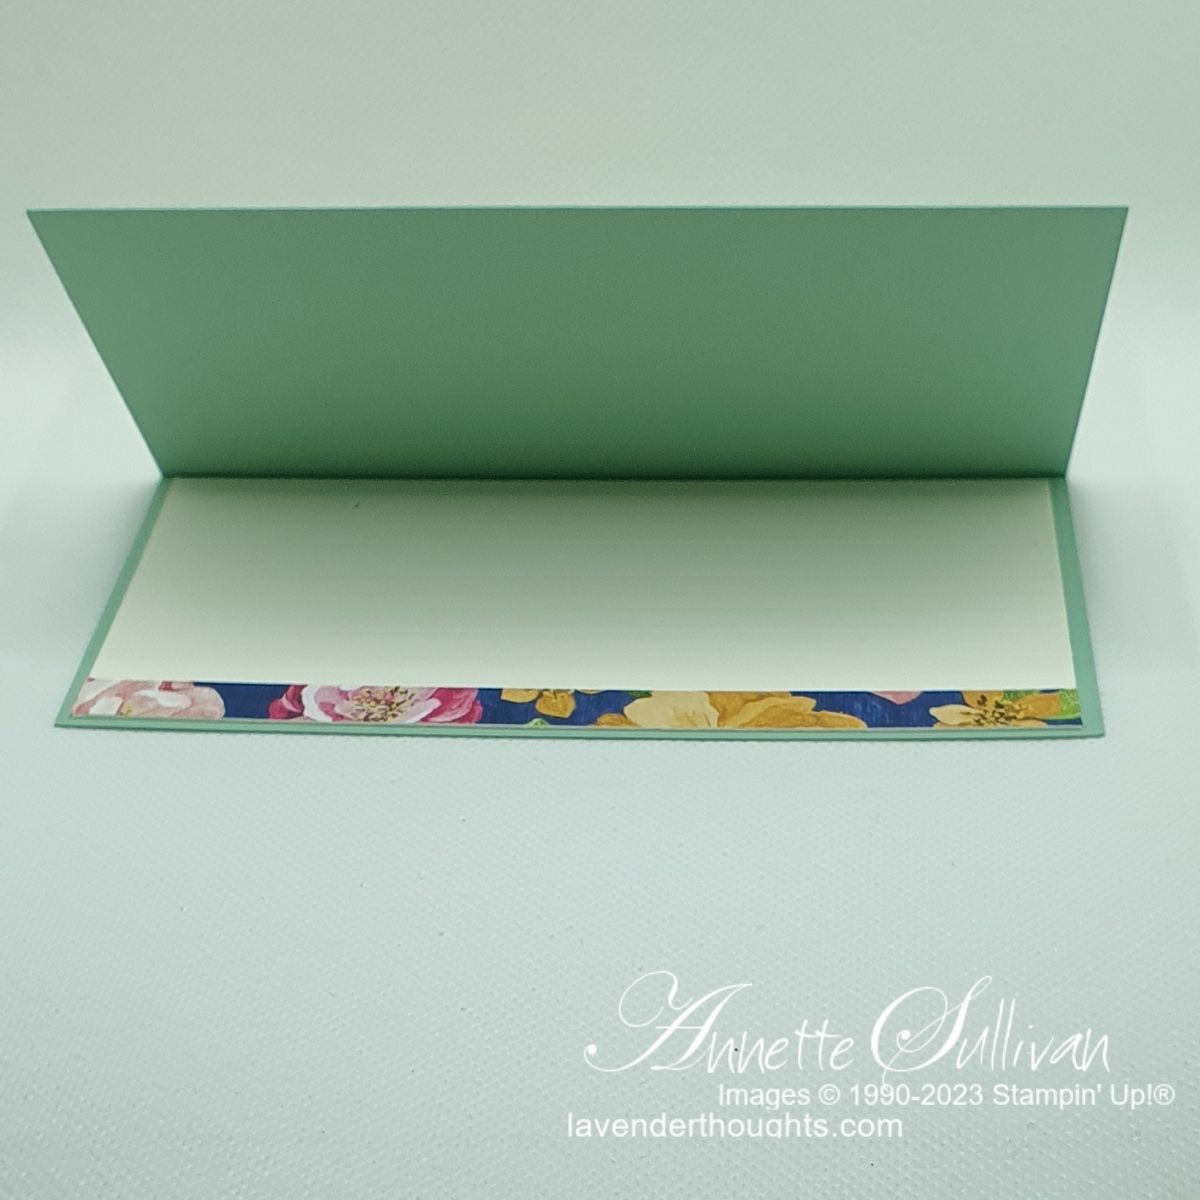
This is the basic landscape card.

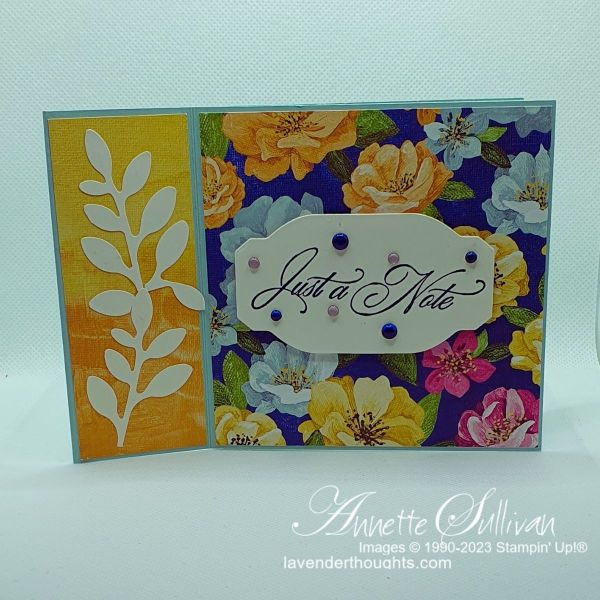
Design 2:
This is the landscape design turned ‘portrait’. The only difference to the basic landscape is how the card is decorated and the alignment of the sentiment.
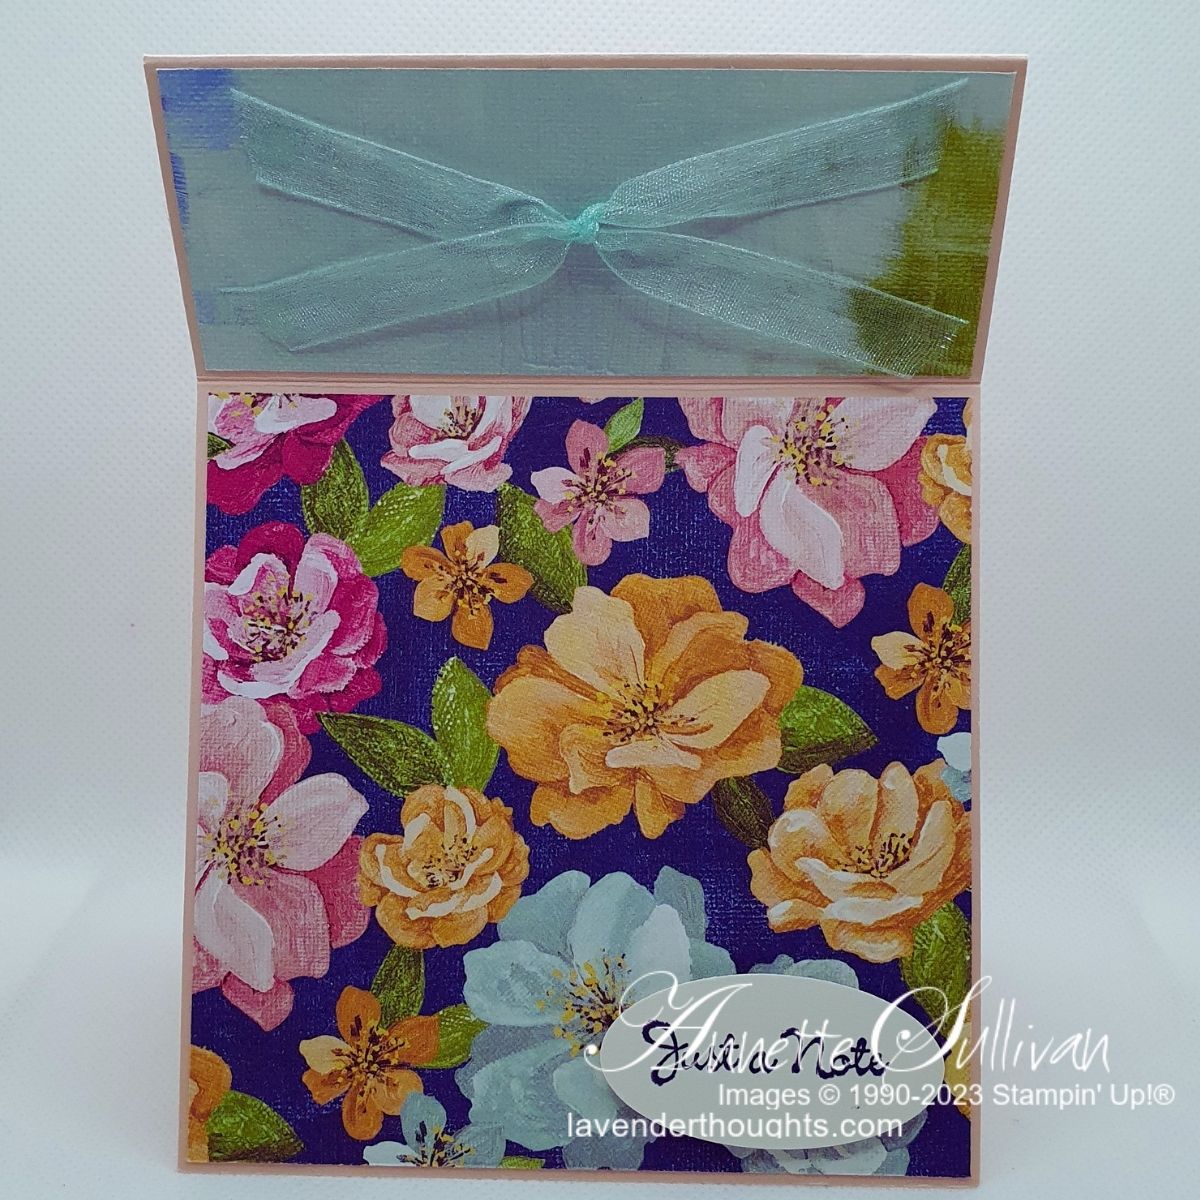
Design 3:
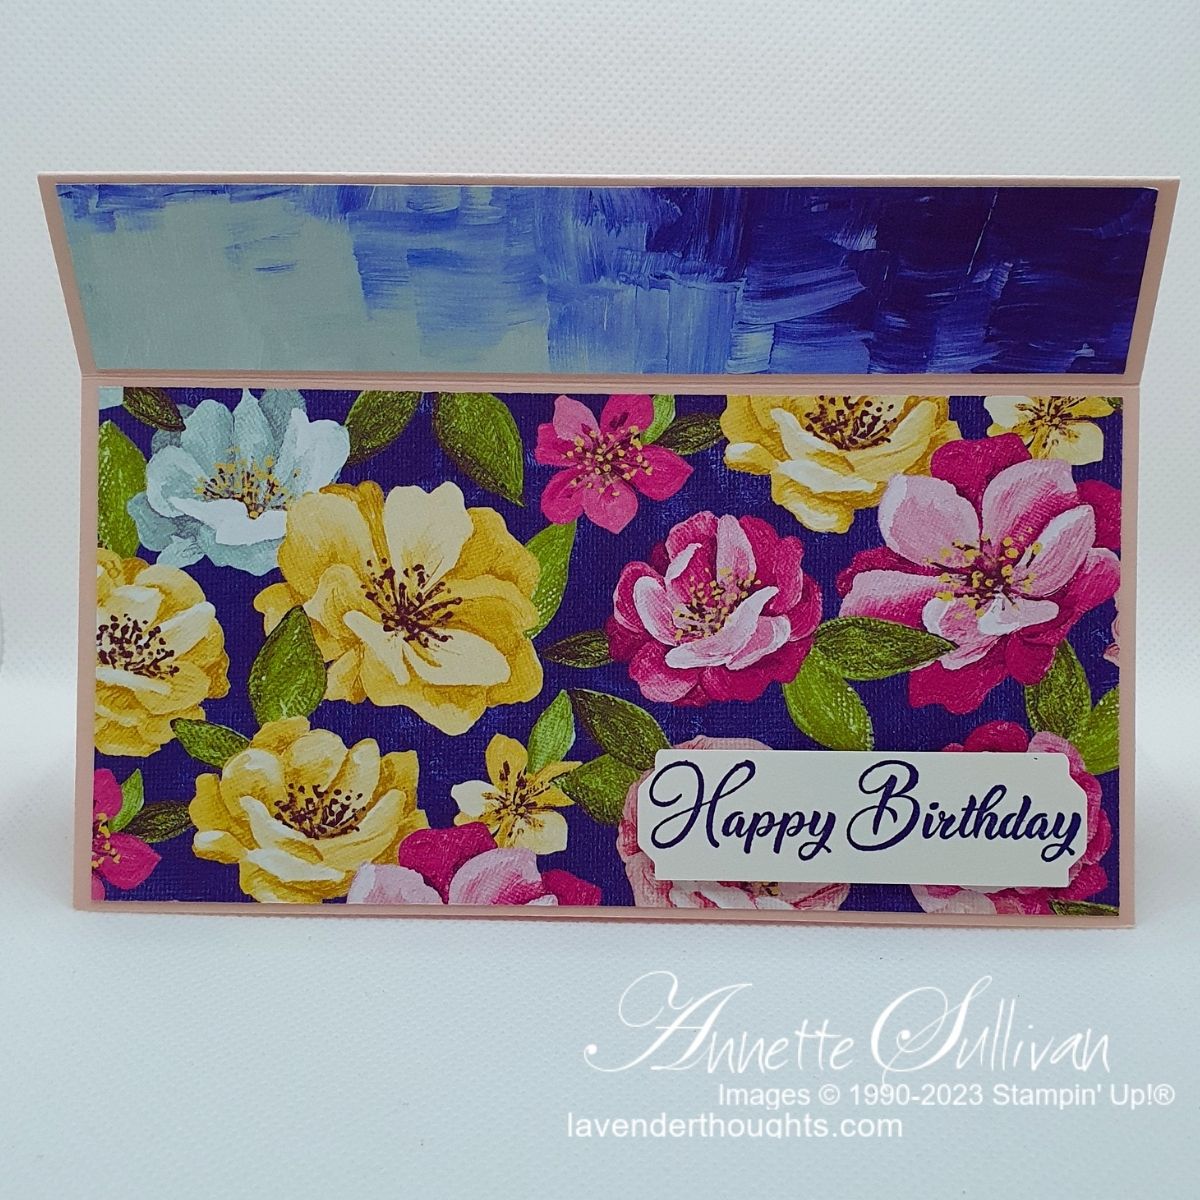
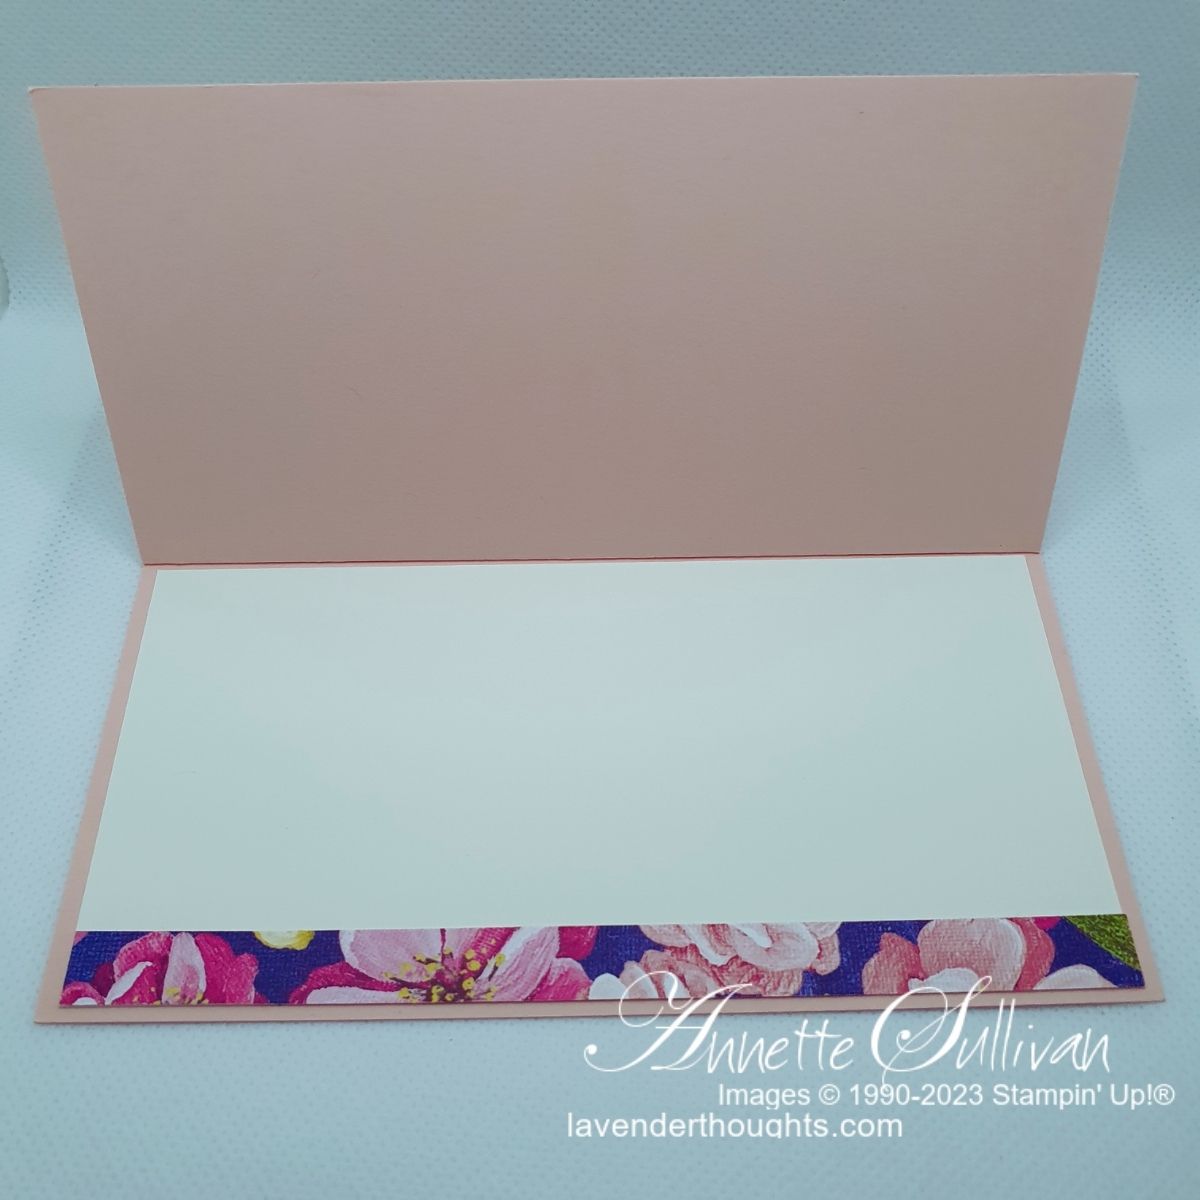
This is the basic portrait card.


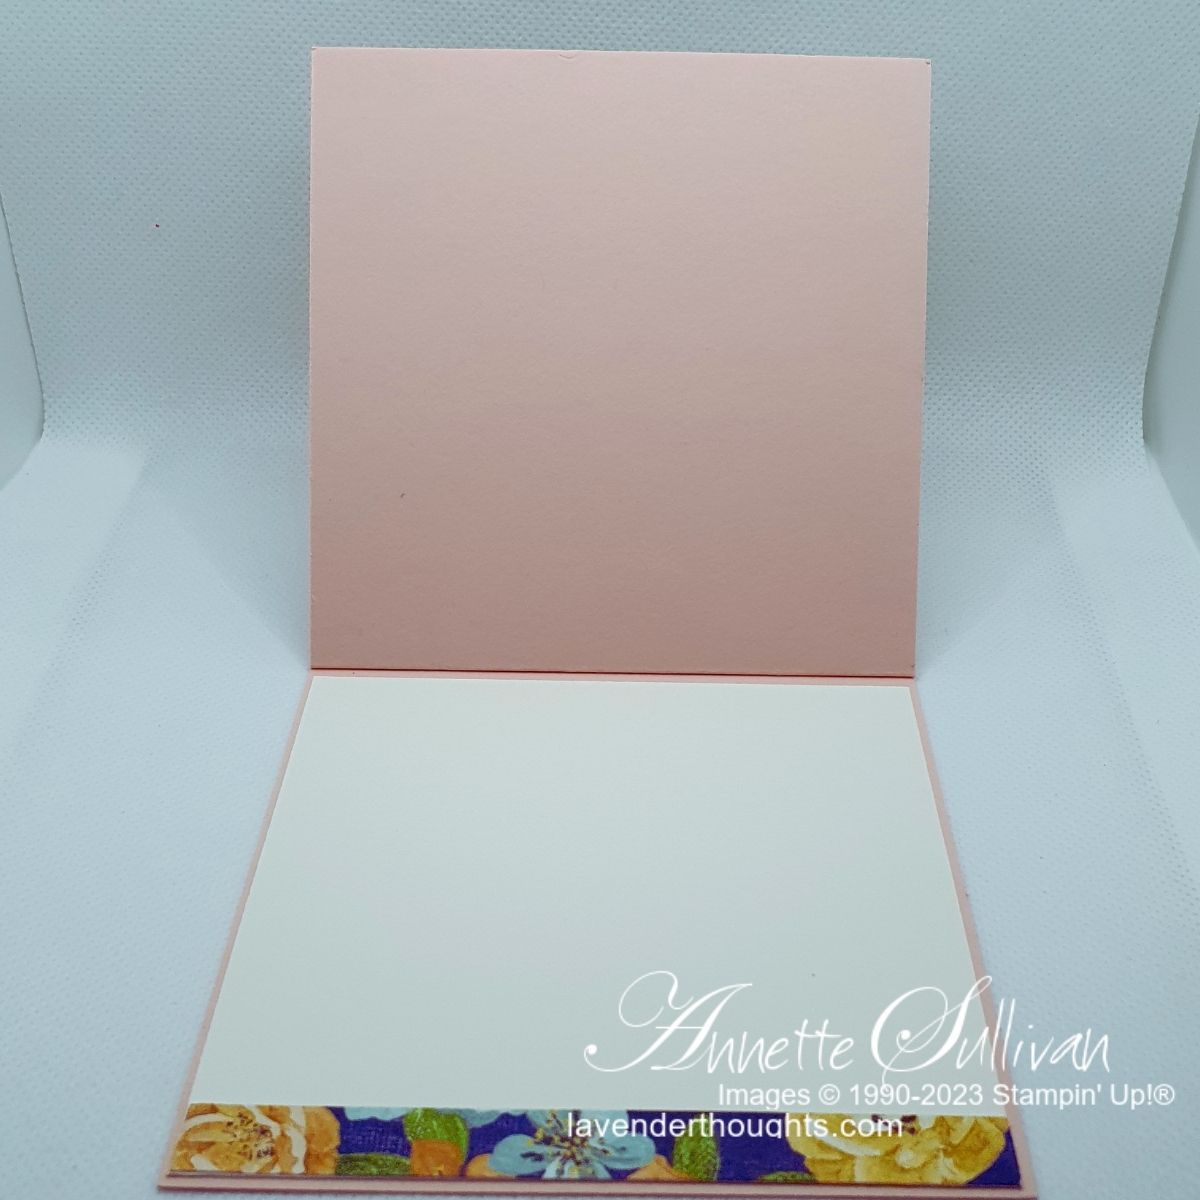
Card 4:
This is the portrait design turned ‘landscape’. The only difference to the basic portrait is how the card is decorated and the alignment of the sentiment.
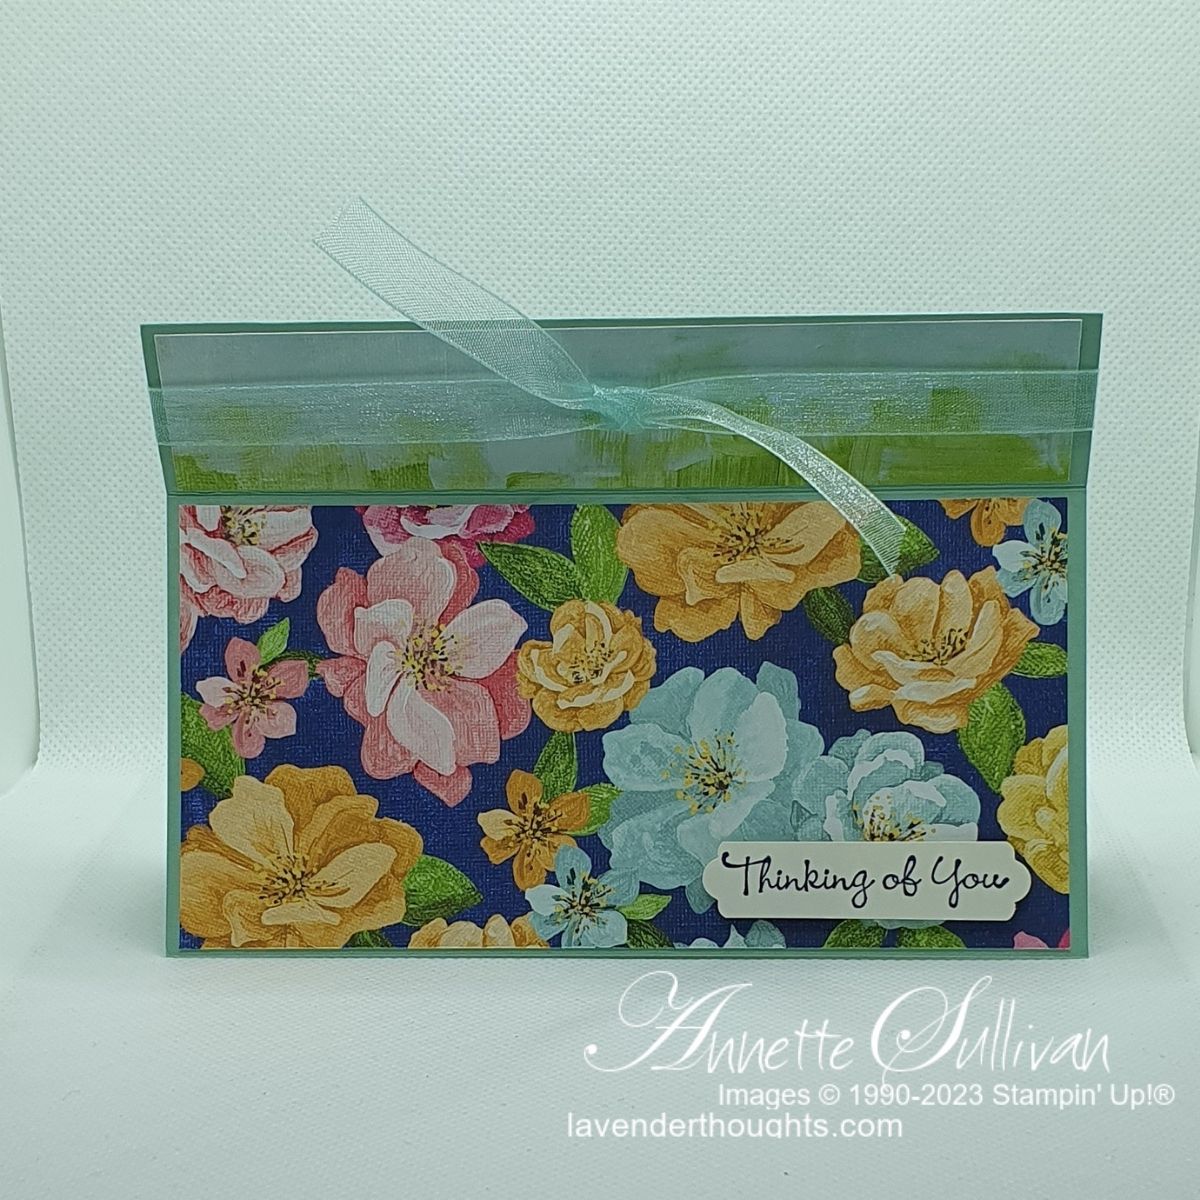
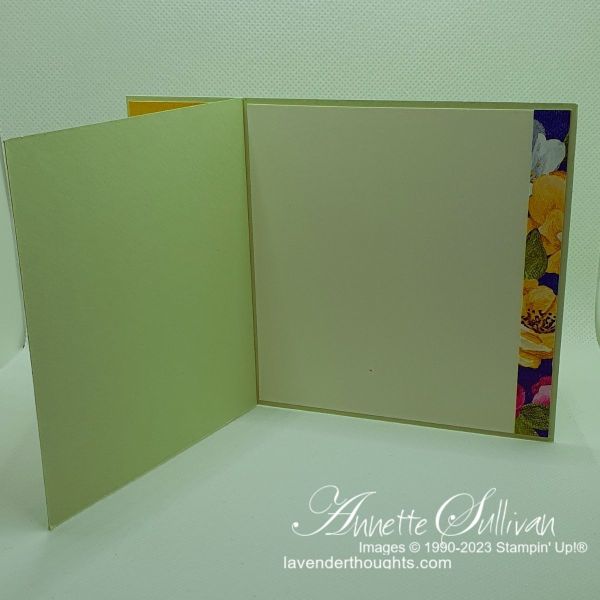
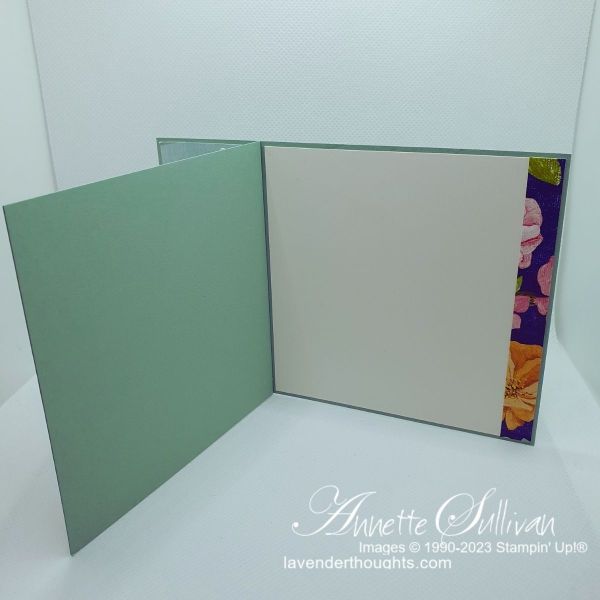
Envelopes:
All of the envelopes are the same – with a strip of Designer Series Paper along the bottom of the front.

Measurements:
METRIC
- Landscape Card
- Cardstock:
- 29.7cm x 10.5cm scored at 10.5cm and 14.8cm for card base
- 10.2cm x 10.2cm for inside of card
- extra for sentiment layer
- Designer Series Paper:
- 4cm x 10.2cm for left hand front panel
- 10.2cm x 10.2cm for right hand front panel
- 1cm x 10.2cm for inside of card (OPTIONAL)
- 15.25cm x 1.5cm for front of envelope (OPTIONAL)
- Ribbon (OPTIONAL):
- 35cm (approximately 3 times the length of the card – depending on whether a bow or knot is used.)
- Cardstock:
- Portrait Card
- Cardstock:
- 21cm x 14.8cm scored at 7.5cm and 10.5cm for card base
- 7.2cm x 14.5cm for inside of card
- extra for sentiment layer
- Designer Series Paper:
- 2.7cm x 14.5cm for left hand front panel
- 7.2cm x 14.5cm for right hand front panel
- 1cm x 14.5cm for inside of card (OPTIONAL)
- 15.25cm x 1.5cm for front of envelope (OPTIONAL)
- Ribbon (OPTIONAL):
- 50cm (approximately 3 times the length of the card – depending on whether a bow or knot is used.)
- Cardstock:
IMPERIAL
- Landscape Card
- Cardstock:
- 11″ x 4¼” scored at 4¼” and 5½” for card base
- 4-1/8″ x 4-1/8″ for inside of card
- extra for sentiment layer
- Designer Series Paper:
- 1-1/8″ x 4-1/8″ for left hand front panel
- 4-1/8″ x 4-1/8″ for right hand front panel
- ½” x 4-1/8″ for inside of card (OPTIONAL)
- 6″ x 5/8″ for front of envelope (OPTIONAL)
- Ribbon (OPTIONAL):
- 15″ (approximately 3 times the length of the card – depending on whether a bow or knot is used.)
- Cardstock:
- Portrait Card
- Cardstock:
- 8½” x 5½” scored at 3″ and 4¼” for card base
- 2-7/8″ x 5-3/8″ for inside of card
- extra for sentiment layer
- Designer Series Paper:
- 1-1/8″ x 5-3/8″ for left hand front panel
- 2-7/8″ x 5-3/8″ for right hand front panel
- ½” x 5-3/8″ for inside of card (OPTIONAL)
- 6″ x 5/8″ for front of envelope (OPTIONAL)
- Ribbon (OPTIONAL):
- 20″ (approximately 3 times the length of the card – depending on whether a bow or knot is used.)
- Cardstock:
Instructions:
- Burnish both score lines on the card base.
- Attach DSP to left hand front panel.
- Attach DSP to right hand front panel.
- Wrap ribbon around the left hand front panel and tie knot or bow. (OPTIONAL)
- Add adhesive to the inside of the left hand front panel and seal it.
- Attach DSP to inside cardstock and attach cardstock to the inside of the card.
- Attach DSP to the lower front of the envelope.
- Decide on orientation of card and add sentiment panel and other die cuts as desired.
Click on the pictures below to download PDFs of current catalogues or click on Shop Now to go to my online shop.

Current Promotions:


Thank you Mal xx
LikeLike
Nice style Annette. Thanks for the imperial measurements. XXX Mal
LikeLiked by 1 person