Today I have a beautiful collar fold card using the Flowering Fields Designer Series Paper and the Tulips Dies. See below for the instructions and a FREE PDF.

Tips:
- This WOW look is very easy to create.
- Measurements:
- Card Base: 21cm x 14.8cm scored at 10.5cm (8½” x 5½” scored at 4¼”)
- DSP for Collar Fold Layer: 10.5cm x 14.8cm (4¼” x 5½”)
- Inside Layer: 9.5cm x 13.8cm (4″ x 5¼”)
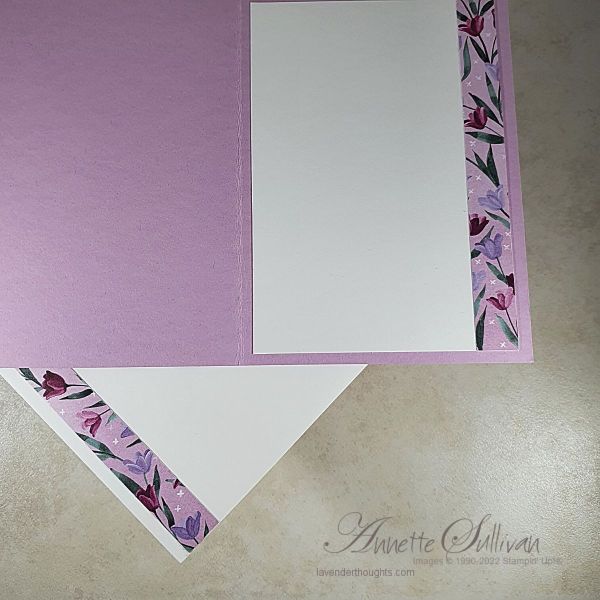
- DSP strip for inside and envelope: 1.5cm (½”) wide
- Tulips and leaves: Basic White scraps
- Instructions:
- Make a mark half way down on the right hand side of the DSP for the collar fold (7.4cm or 2¾”).
- Cut from the mark to half way across the DSP (5.25cm or 2-1/8″).
- Fold from the top right hand corner to the cut.
- Fold from the bottom right hand corner to the cut.
- These folds create the ‘collar’. Use glue dot to secure the folds to the DSP.
- Attach the DSP to the front of the card base.
- Stamp the cross image second generation on the part of the card base showing.
- Die cut some tulip and leaf pieces as per the picture below.
- Use Blending Brushes with Rich Razzleberry and Highland Heather inks to add colour to the tulips.
- Use Blending Brushes with Soft Suede and Evening Evergreen inks to add colour to the leaves.
- Add Wink of Stella to the tulip petals.
- Create the bunch of tulips and attach to the centre of the collar fold with Dimensionals.
- Stamp a sentiment on the card base.
- Use the DSP strip to add to the inside layer and the envelope.
- Supplies:
- Stamp Set: Flowering Tulips
- Cardstock: Fresh Freesia, Basic White, Flowering Fields DSP
- Ink: Rich Razzleberry, Highland Heather, Soft Succulent, Evening Evergreen
- Accessories: Tulips Dies, Blending Brushes, Brushed Brass Butterflies, Wink of Stella, Dimensionals
Download a FREE PDF of the instructions here.
Close up of the tulips:

… inside and envelope
Tulip Dies – cut the following pieces:

Click on the pictures below to download PDFs of current catalogues or click on Shop Now to go to my online shop.

Current Promotions:


