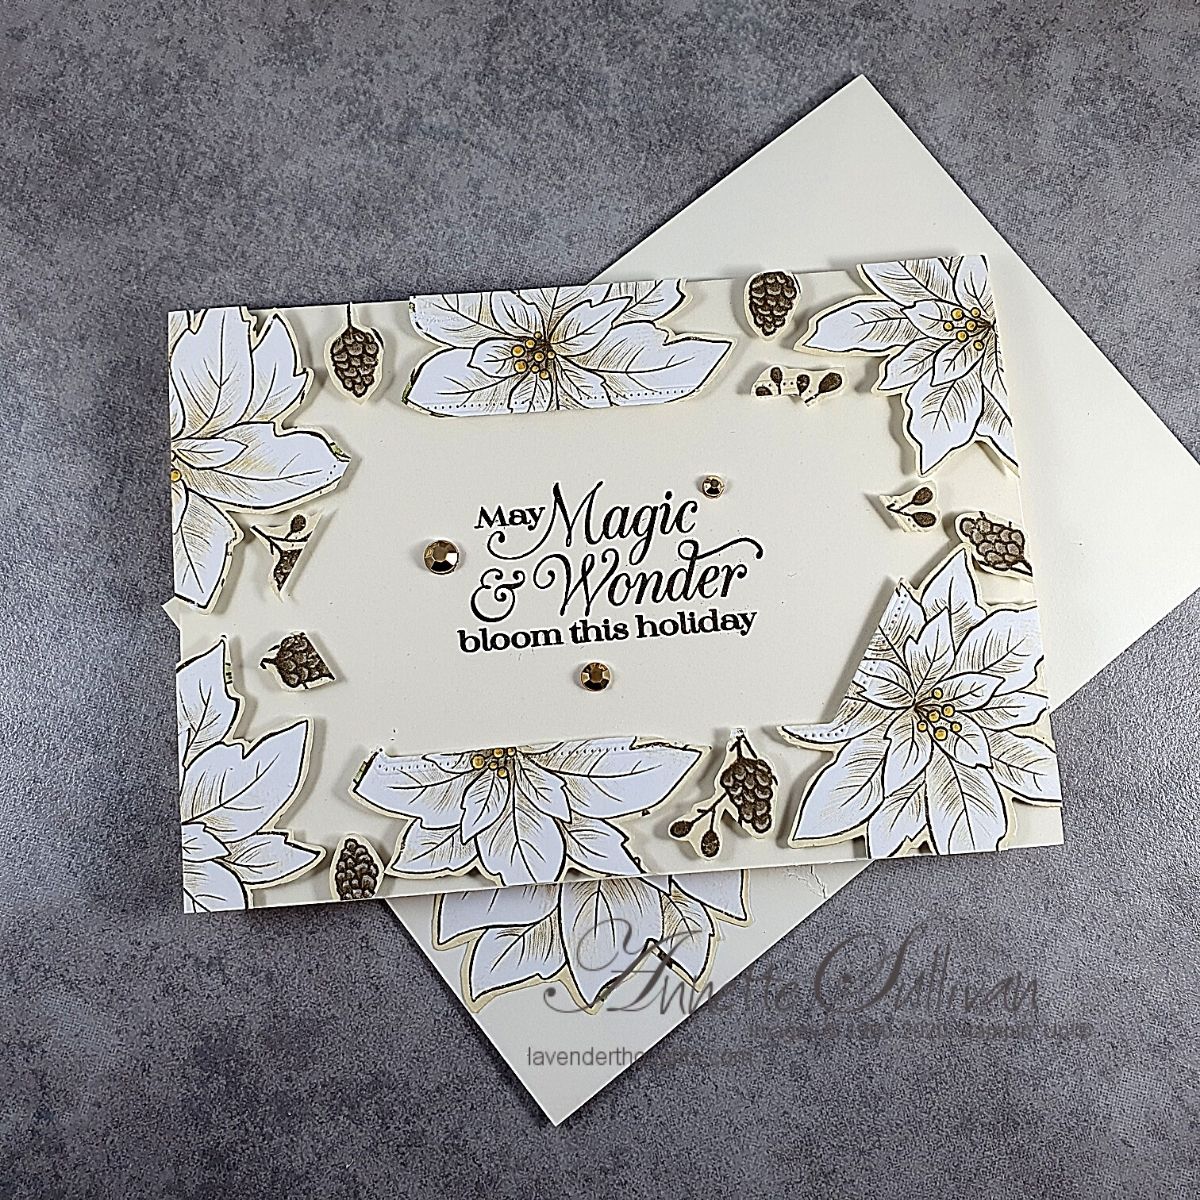
The Floating Frame technique can be a little fiddly, but is oh so worth the effort – and you get two cards.

Tips:
- The secret to the floating frame technique is to use Press’n Seal – a product made by Glad®. It is like plastic wrap but much stronger and has many uses in the kitchen as well as the craft room.
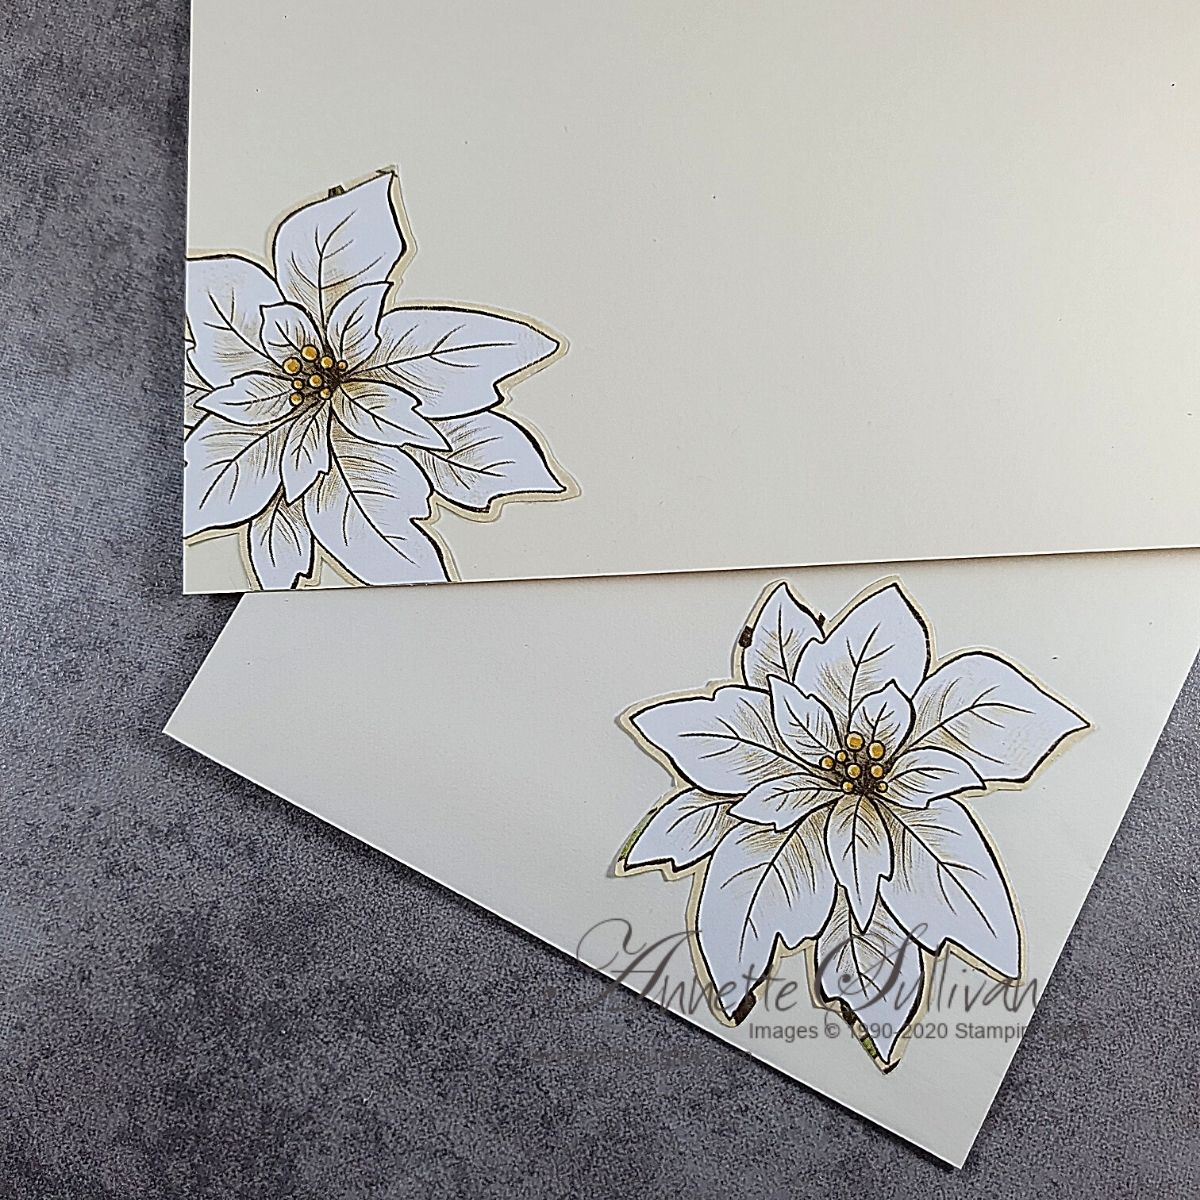
- I fussy cut my images from the beautiful Poinsettia Place DSP, but you could just as easily use die cuts.
- Instructions:
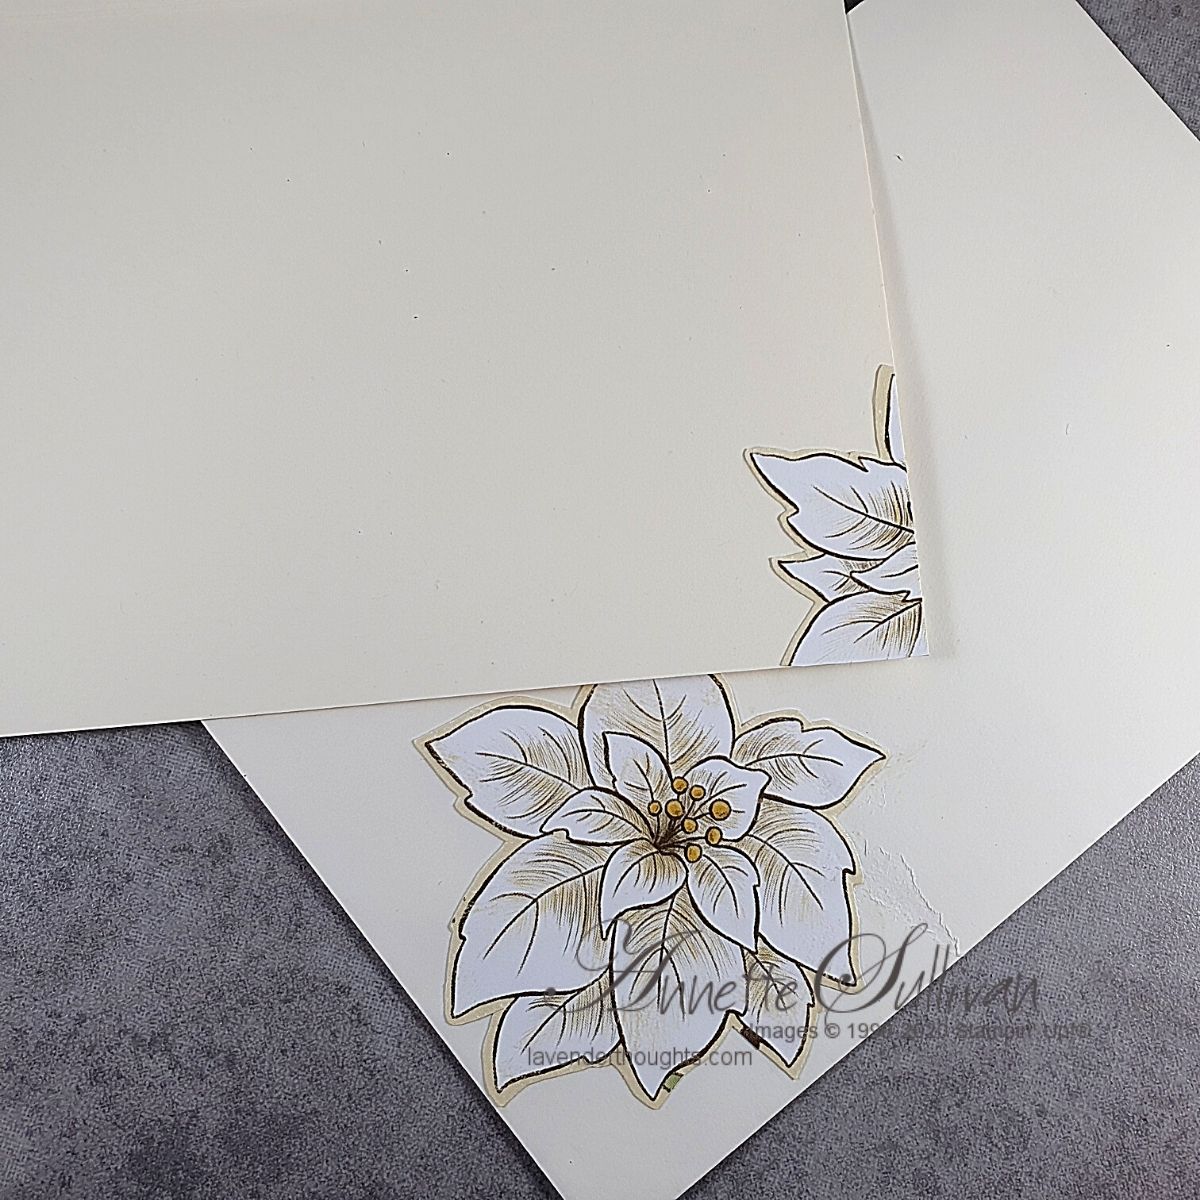
- Take a quarter sheet of scrap cardstock and arrange your pieces over the entire sheet.
- Carefully place a piece of Press’n Seal over the top to lightly adhere the pieces to the scrap cardstock.
- Select a frame die of your choice (I used the Stitched Nested Labels Dies here) and die cut the arrangement.
- Use the outside (negative) for one card, and the inside for another.
- Place pieces of Dimensionals on the back of all pieces (Press’n Seal is still attached to the front). Remove paper from Dimensionals and add the die cut piece to the card front. Carefully remove the Press’n Seal and you have your floating frame.
- Stamp a sentiment, add some embellishments and there you have two beautiful and elegant floating frame cards.
- Supplies:
- Stamp Set: Poinsettia Petals
- Cardstock: Thick Very Vanilla, Poinsettia Place DSP
- Ink: Soft Suede
- Accessories: Gilded Gems, Stitched Nested Labels Dies, Dimensionals, Press’n Seal
Current Promotions:


