The design for this fancy fold comes from the tutorials at splitcoaststampers.com. Visit the Tutorials section on their site for a video (the only difference are the measurements which I have converted to metric).
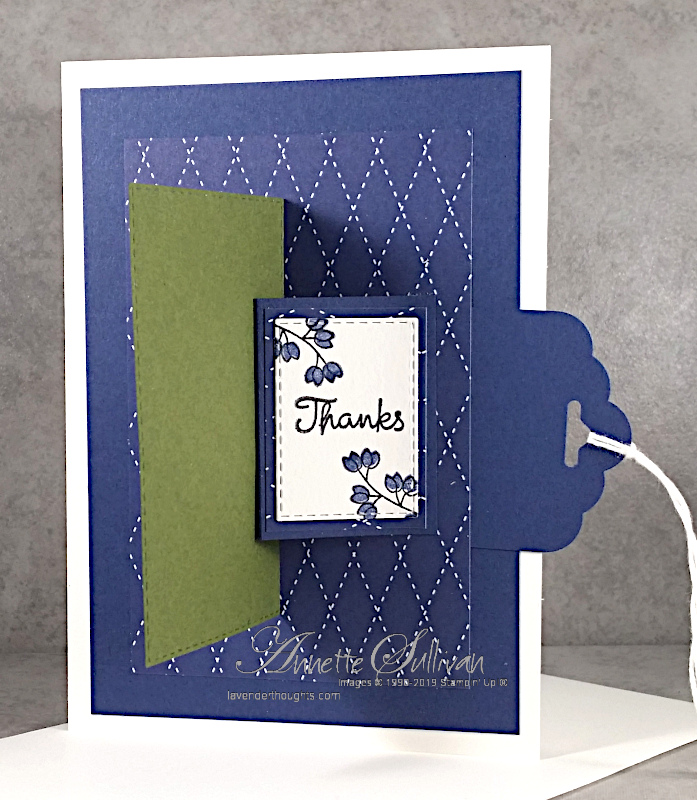
Here it is with the flap closed ….

This is with the flap open ….
Tips:
- Supplies:
- Stamp Set: Varied Vases
- Cardstock: Thick Whisper White, Whisper White, Night of Navy, Night of Navy DSP, Mossy Meadow
- Ink: Memento Tuxedo Black, Night of Navy, Mossy Meadow
- Accessories: Stitched Rectangles Dies, Whisper White Baker’s Twine, Classic Label Punch, Scalloped Tag Topper Punch, Vases Builder Punch, Dimensionals
- Measurements:
- Card base (Thick Whisper White): 21cm x 14.8cm scored at 10.5cm
- Layer 1 (Night of Navy): 9.5cm x 13.8cm
- Layer 2 (Night of Navy DSP): 7.5cm x 11.8cm
- Pull Tab (Night of Navy): 5.0cm x 12.5cm scored at 3.8cm and 5 cm from one end
- Ribbon / Baker’s Twine: approximately 16cm
- Cardstock for outer and under the flap layers. Maximum width of layers: 6.3cm for outer and 4.5cm for the ‘under’.
- Instructions
- Use the Classic Label Punch or a craft knife to cut a slit in Layer 2. Centre the punch vertically and push the cardstock in all the way before punching. If using a craft knife, make the slit 5cm high and 4.5cm from the right hand edge of the cardstock.
- Punch a hole in the tab on the opposite end to the score lines. (Use a Tag Topper Punch if desired.)
- Burnish both folds on the tab piece and feed it through the back of the slit on Layer 2 from the right hand side, leaving the punched hole showing beyond the edge of Layer 2.
- Add adhesive on the edge of the tab showing through on the left.
- Line up the tab piece so that the punched hole is just showing beyond the right hand edge of Layer 2.
- Fold the tab on the 5cm score line and adhere to Layer 2.
- Create the ‘under flap’ layer and attach the left hand edge of it along the 3.8cm score line of the tab piece.
- Create the main ‘flap’ layer and attach the left hand edge of it along the edge of the 5cm score line.
- Add some ribbon or Baker’s Twine through the punched hole to act as the pull for the tab.
- Attach completed flap mechanism to layer 1 taking care not to add adhesive near the pull tab.
- Attach to card base.
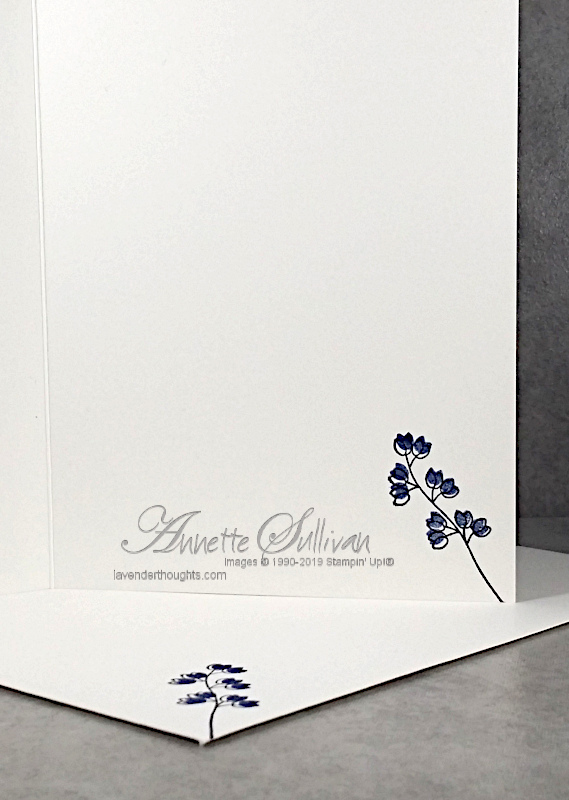
… for the inside and envelope
The flaps can be any shape – square, oval, circle, rectangle etc. Why not have a play and make one for yourself. Please leave me a comment if you have any questions.
Current Promotions:


My pleasure Robyn
LikeLike
Thank you for doing the metric measurements, much appreciated
LikeLiked by 1 person