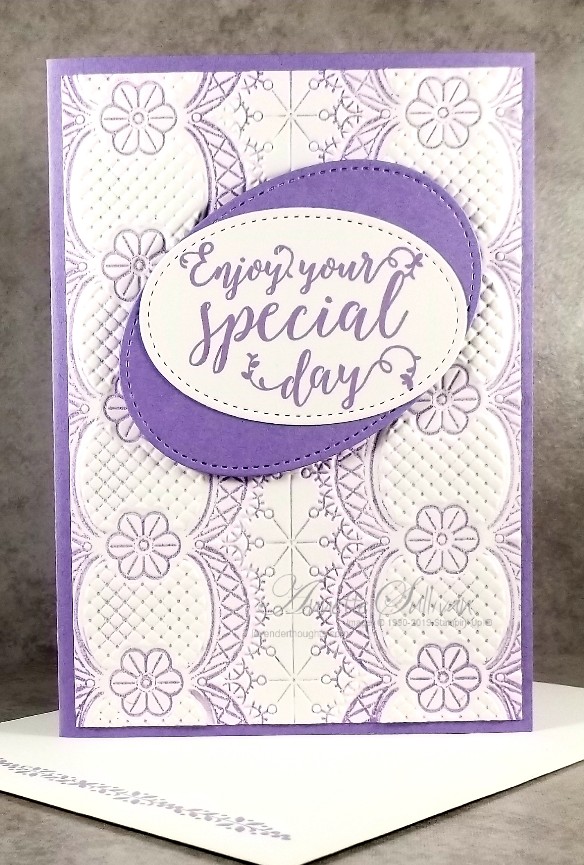
At a recent technique class, I showed the participants how to use ink and an embossing folder to create some beautiful backgrounds. This technique adds ink to the indentations of the embossed image, creating a letterpress effect.
Here is the card that they made.
Tips:
- Instructions for the Faux Letterpress Technique:
- Ink one side of the inside of an embossing folder with a brayer or by lightly dragging the ink pad across the surface.
- Carefully add the cardstock inside the embossing folder on the non-inked side.
- Close the folder and run it through the embossing machine.
- Remove the embossed panel
- Run the embossing folder under the tap to remove the ink.
- You can ink either side of the embossing folder depending on the result desired. Just experiment and see which look you prefer.
- Supplies:
- Stamp Set: Stitched All Around
- Cardstock: Highland Heather, Whisper White
- Ink: Highland Heather
- Accessories: Lace 3D Embossing Folder, Stitched Shapes Dies, Dimensionals
.. and for the inside
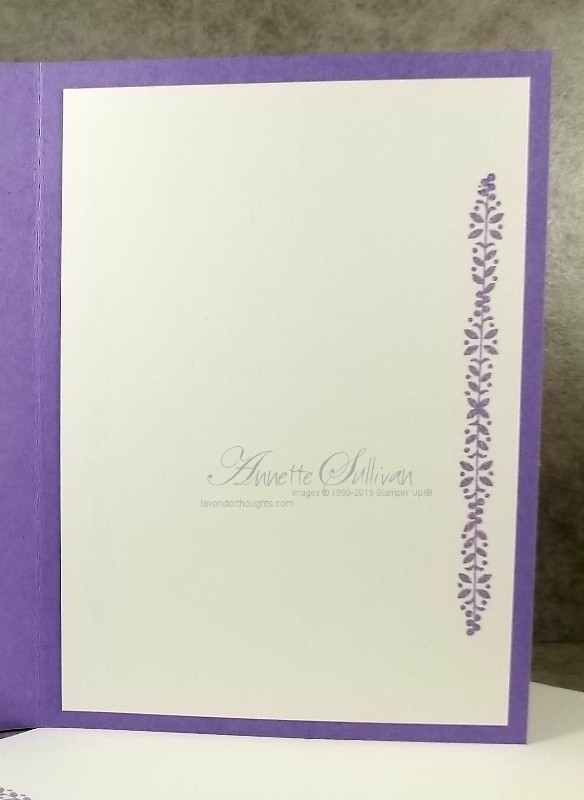
This card was made using the other side of the embossing folder. Which one do you prefer?

You can see more examples of the Faux Letterpress technique here.
Current Promotions: