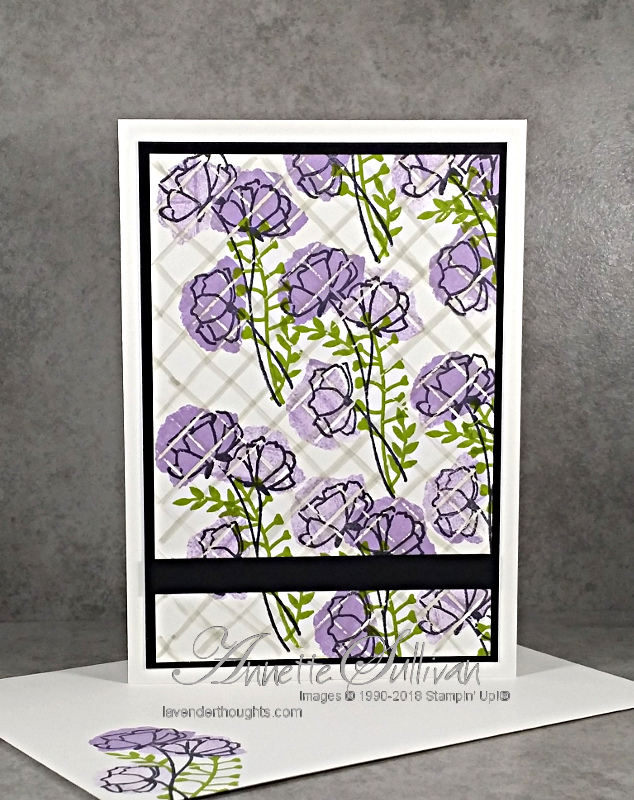
This week I am showcasing the Faux Tile Technique. Over the next few days, I will show more of the different tiling effects.
Today’s card is scored 1cm (½”) diagonally.
Tips:
- Here are the supplies, measurements and some basic instructions. Check out the video for full details on the technique.
- Supplies:
- Stamps – Love What You Do
- Card Stock – Thick Whisper White, Basic Black, Whisper White
- Ink – Highland Heather, Granny Apple Green, Sahara Sand
- Measurements:
- Card Base (Thick Whisper White): 21cm x 14.8cm scored at 10.5cm (8½” x 5½” scored at 4¼”)
- Basic Black: 13.8cm x 9.5cm (5¼” x 4″), 9.5cm x 1cm (4″ x ½”)
- Whisper White: 13.3cm x 9cm (5-1/8″ x 3-7/8″)
- Instructions:
- Create a grid on the Whisper White layer using a scoring board or the scoring tool on a paper trimmer.
- Today’s card is scored diagonally at 1cm (½”) on a score board.
- Stamp images with Highland Heather and Granny Apple Green inks to create a tile look. The images will not stamp in the grid lines.
- Use Sahara Sand marker to add ‘grout’.
- Attach tile panel to Basic Black layer and then to front of card base.
- Add Basic Black strip across the lower part of the card.
- Tips:
- Some grid sizings:
- score every 2.5cm (1″) horizontal and vertical
- score 2cm (1″) then 1cm (½”) horizontal and vertical
- score every 1cm (½”) diagonally
- score every 2.5cm (1″) diagonally
- Some grid sizings:
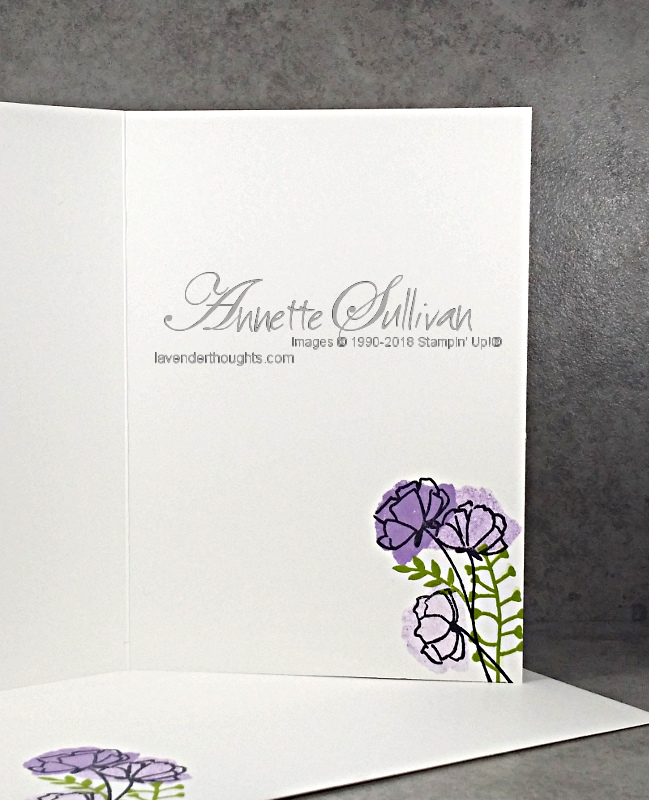
- Just a little decoration for the inside and envelope …
Here is the video with all the details:
You can see other projects that I have made with this technique here.
Current Promotions:

Click on the photo of the Occasions Catalogue to download a PDF file

You can download a PDF version of the 2018 Annual Catalogue, or contact me if you would like your own copy.