The Frosted Forest Decorative Masks are a great way to create simple or complex images for your projects. Today I have five projects of differing complexity for your inspiration. This is a super long post so grab your favourite beverage before you start reading.
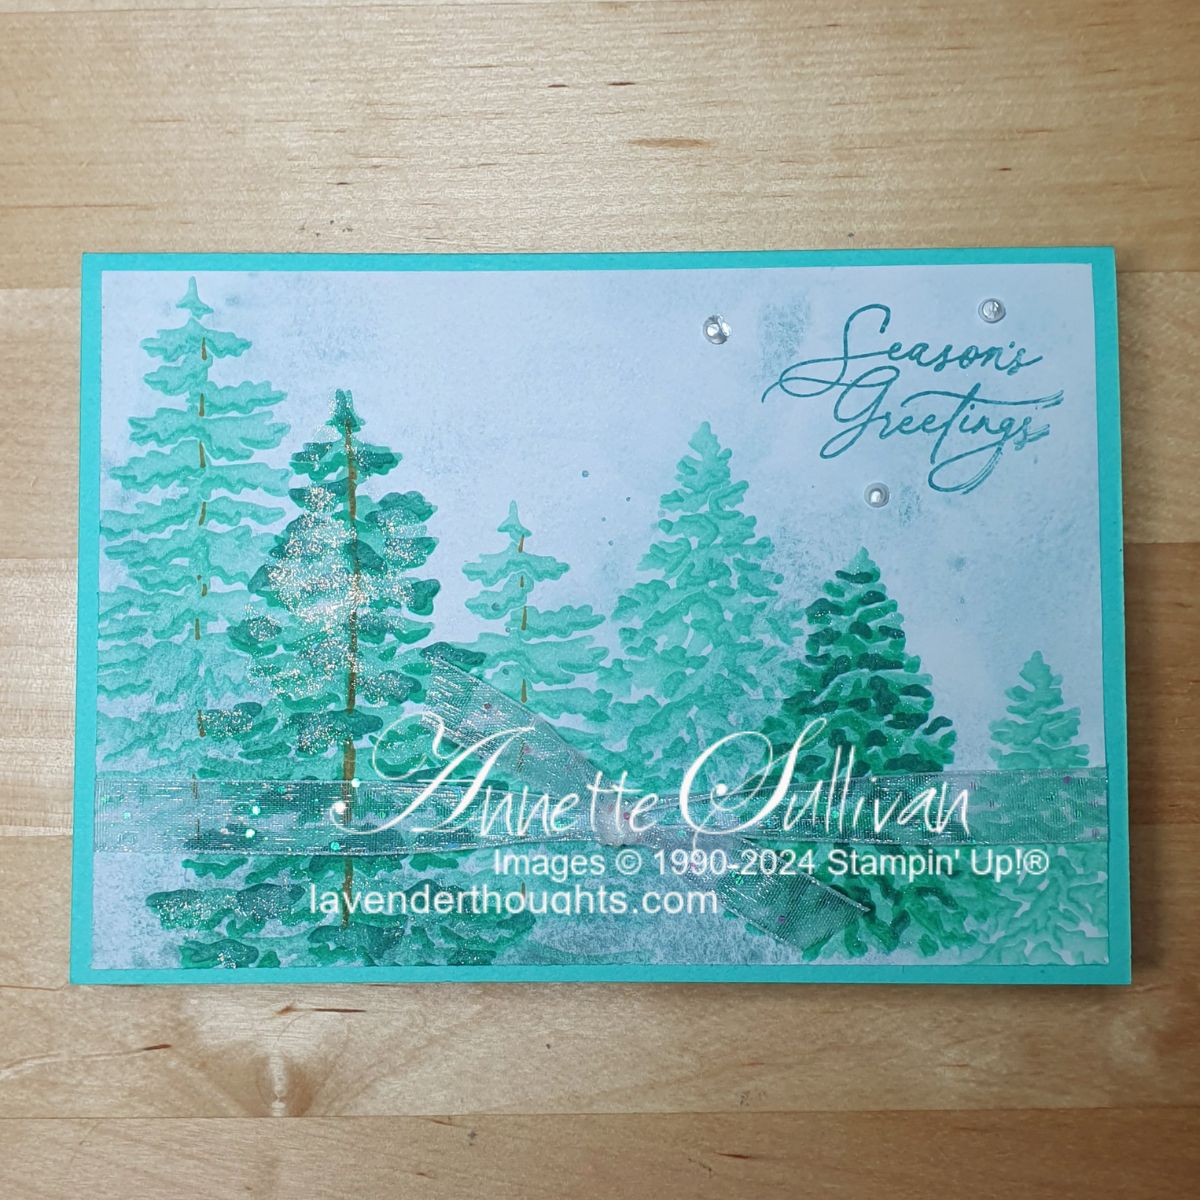
Card 1: This is a simple way to use the masks. On Winter Meadow DSP use Blending Brushes with Pool Party, Coastal Cabana and Lost Lagoon inks to create the first set of trees with full ink then move the mask and create lighter versions. Move the mask again and create more light images. Wrap a piece of White Glittered Organdy Ribbon around the lower part and layer onto a Coastal Cabana card base. Stamp a sentiment in the top right hand corner. Use White Pearlized Enamel Effects to add some ‘dots’.

Card 2: Use the mask on Basic White cardstock with the larger tree and Granny Apple Green, Old Olive and Mossy Meadow inks. Take a piece of Silver Foil and die cut one of the smaller filigree images from the Decorative Trees dies. Use the image for another project. Take the negative image piece of Silver Foil and emboss with the So Swirly Embossing Folder.
Add a layer of the Cherry Cobbler Regal Distressed Patterns Specialty DSP to a Thick Basic White card base. Take some strips of the white DSP from the same pack and layer over the Cherry Cobbler piece.
Attach a piece of the Cherry Cobbler Seasons of Elegance Specialty DSP to a piece of Basic White and die cut with one of the Deckled Rectangles Dies. Add to the card base with Dimensionals.
Layer the embossed silver tree shape over the masked tree and attach to the previous layer on the card. Stamp a sentiment from Greetings of the Season on Basic White cardstock with Cherry Cobbler ink, flag the ends and add to the card. Add some red embellishments (Loose Holly Gems & Sequins) to the tree.
Decorate the inside and envelope to match.


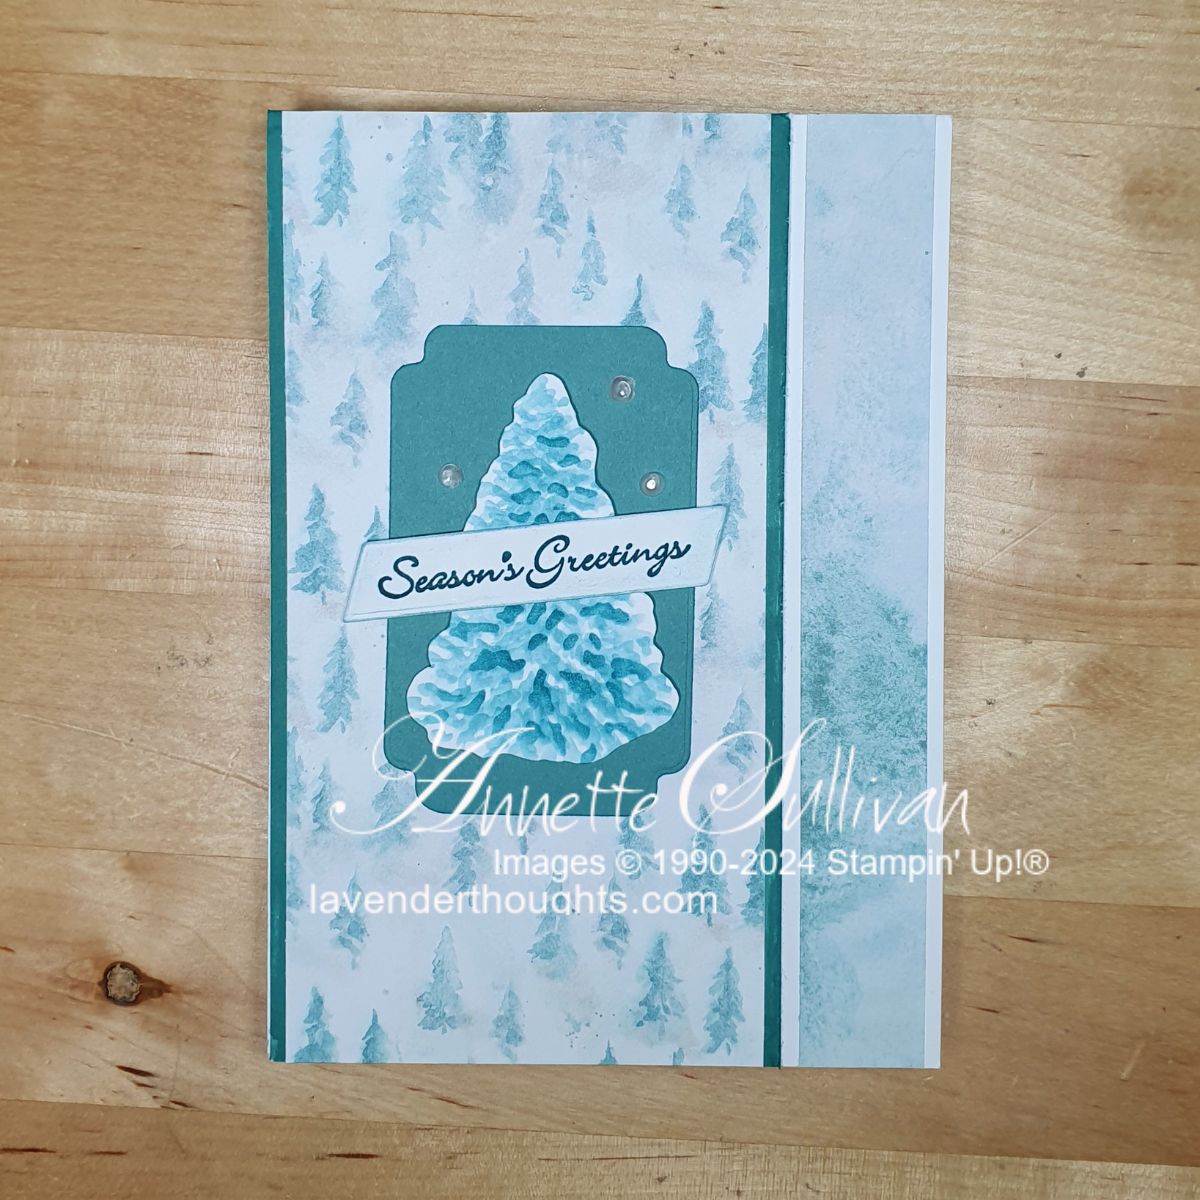
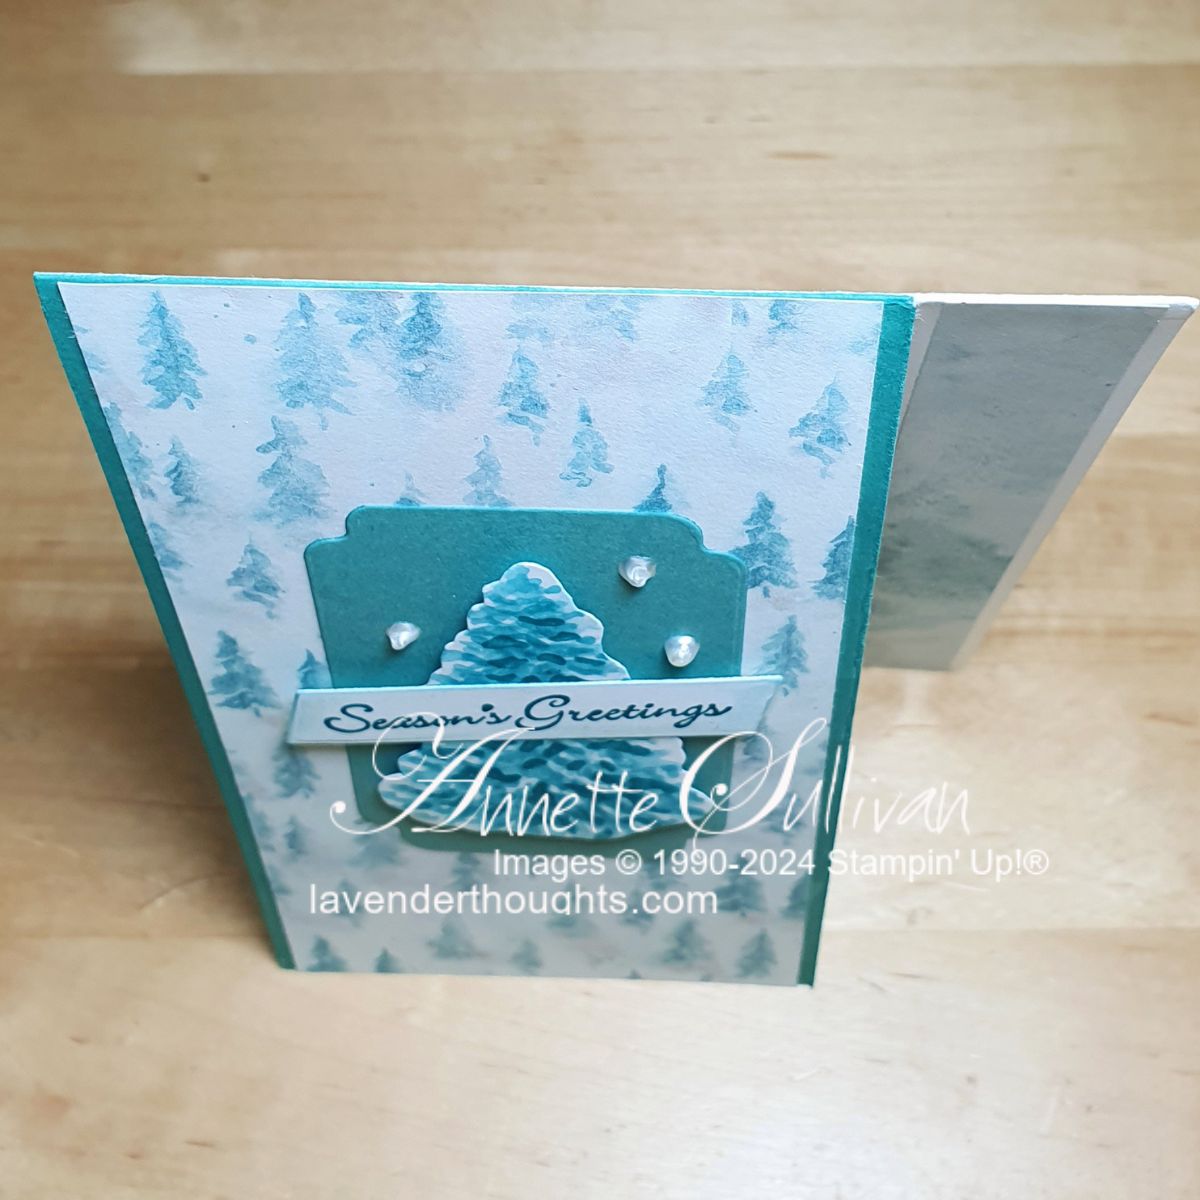
Card 3: This is a very simple fun fold card. Take half a sheet (lengthwise) of Thick Basic White cardstock and fold in half. Make a cut 2.5cm (1″ ) in from the bottom right edge of the front to the fold line. Adhere this piece down and add a strip of Winter Meadow DSP.
Swipe a Lost Lagoon ink pad around the edges of the front flap and attach Winter Meadow DSP. Die cut a label from Something Fancy Dies with Lost Lagoon cardstock and adhere to the DSP.
Use Blending Brushes with the smaller tree and Lost Lagoon and Pretty Peacock inks on Basic White cardstock. Fussy cut the tree and add to the Lost Lagoon label with Dimensionals. Stamp a sentiment (Itty Bitty Christmas), cut the edges on an angle and attach across the centre of the tree. Add some ‘dots’ with White Pearlized Enamel Effects.
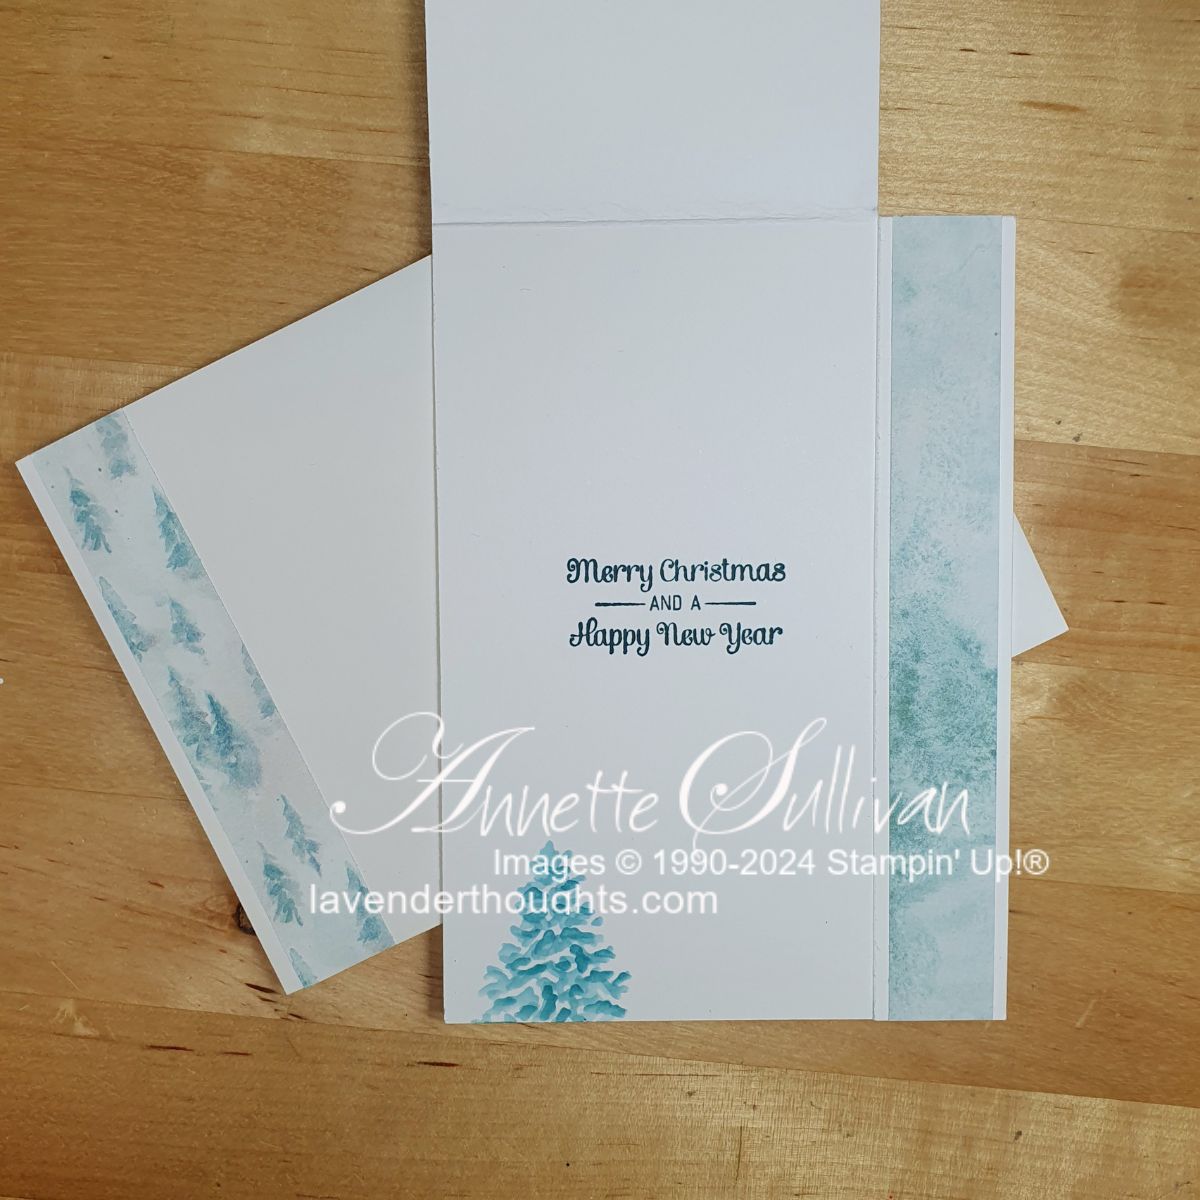
Decorate the inside and envelope to match.
Card 4: Another simple Fancy Fold (Back Fold) with Winter Meadow DSP and a masked tree using Misty Moonlight and Night of Navy inks. Take a standard half sheet of Thick Basic White card stock and fold in half. Cut 2.5cm (1″) from the front edge. On the back half of the card base score at 2.5cm (1″) and fold and burnish it towards the back. Add DSP to the narrow piece and the card front. Fussy cut the tree and attach with Dimensionals.
Stamp a sentiment on Basic White with Night of Navy ink and flag the ends. Use a Dimensional to attach it to the thin right hand side of the card base.
Decorate inside and envelope to match.


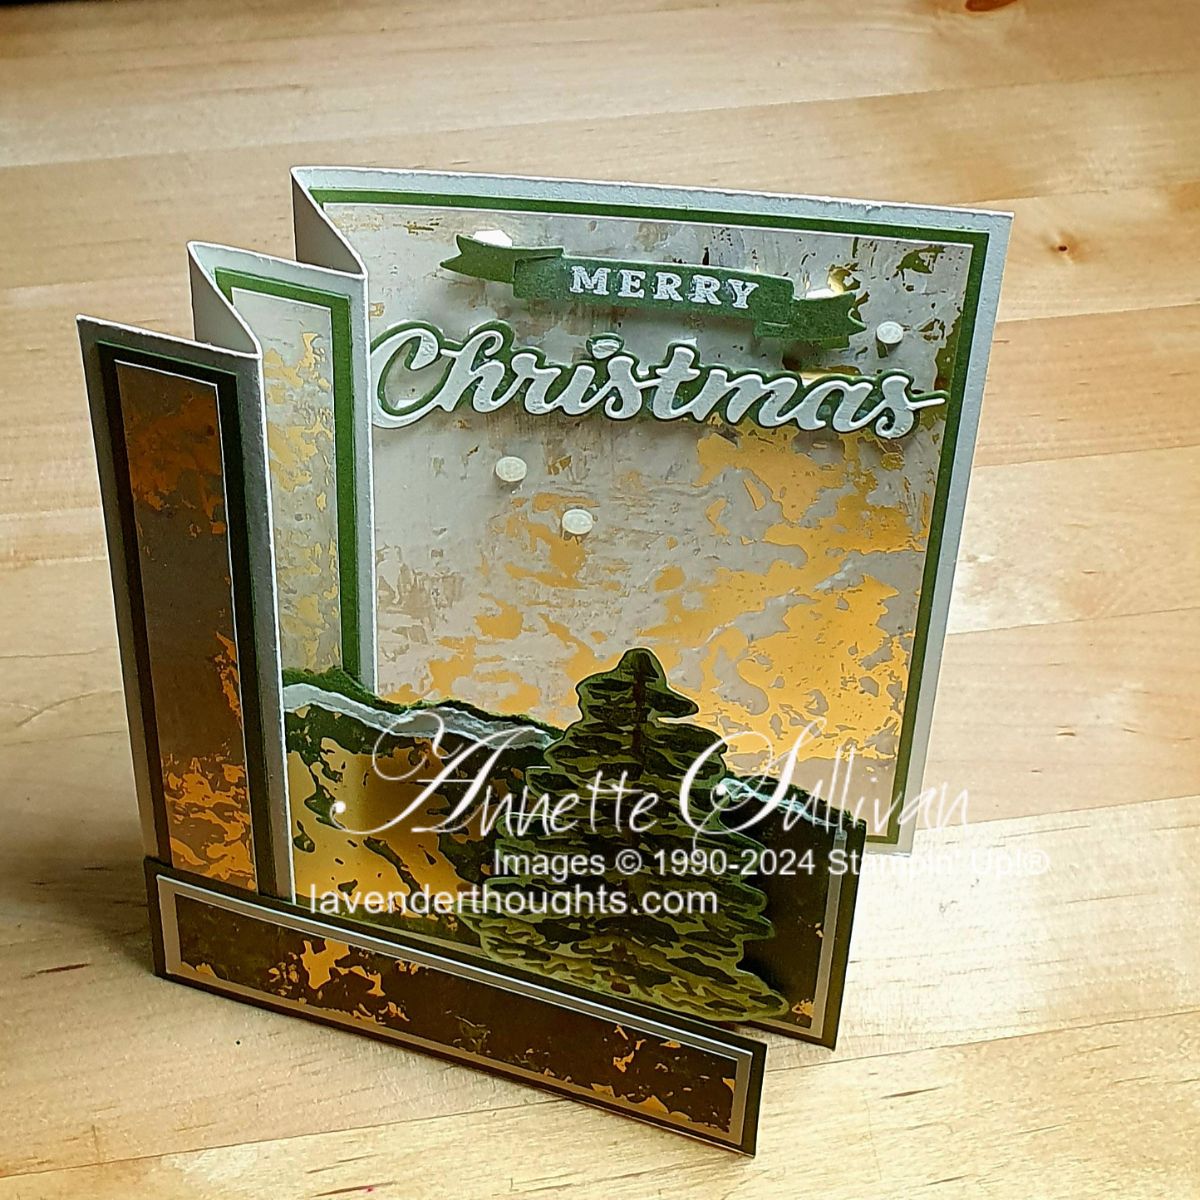
Card 5: Whilst this seems difficult to create, it is also a quite simple fancy fold card (Accordion Flap). Take a standard half sheet of Basic Beige cardstock and fold in half. Fold the front flap in half and then fold each half in half so that there are four equal pieces on the front flap.
Decorate the first and third panels on the front with Mossy Meadow cardstock and beige Seasons of Elegance Specialty DSP. Decorate the full panel with the same.
Use the Peaceful Season Dies to cut a small banner and ‘Christmas’ shadow with Mossy Meadow cardstock, Die cut the ‘Christmas’ word with Basic Beige cardstock. Heat emboss ‘Merry’ on the Mossy Meadow banner with White Embossing Powder. Attach the ‘Christmas’ shadow to the word. Adhere both to the top of the full panel. Add some Earth Tones Shimmer Gems to the panel.
Take pieces of Mossy Meadow and Basic Beige cardstock and the green DSP and carefully rip the top of them. (Start with the Mossy Meadow piece 10.5cm (4¼”) wide by 7.5cm (3″) tall. Make the other layers 0.5cm (¼”) smaller.) Adhere them together, add a piece of Basic White to the back of the panel to write your message then attach to the base of the third front panel. Use Blending Brushes with Granny Apple Green, Old Olive and Mossy Meadow ink and the large tree on Basic White cardstock. Fussy cut and add to the torn panel with Dimensionals.
Create a panel of Mossy Meadow, Basic Beige and green DSP starting with Mossy Meadow Layer 10.5cm (4¼”) wide by 3cm (1¼”) tall. Reduce the other layers by 0.5cm (¼”) in size. Add to the base of the front layer.


Click on the picture below to download the PDF of the current catalogues or click on Shop Now to go to my online shop.

Current Promotions: