The Delicate Forest Bundle first appeared in the 2024 January-April Mini Catalogue. It has carried over to the latest Annual Catalogue as a stamp set and matching dies. A friend of mine purchased the bundle and I have borrowed it from her to create some projects. Thanks Mavis.
Card 1:
- Thanks to Susan Campfield for the inspiration of her design which she calls a One in a Million Fun Fold.
- Start with a standard size Basic White card base and use Blending Brushes with Mossy Meadow, Calypso Coral and Daffodil Delight inks to create a background.
- The mountains were created by stamping one of the images from the set along the horizon with Highland Heather ink.
- Shrubs and trees were stamped with Mossy Meadow ink.
- The leafy arch die cut was used with Basic White cardstock. This was coloured with a light layer of Mossy Meadow ink and a Blending Brush and attached to the background on the card front.
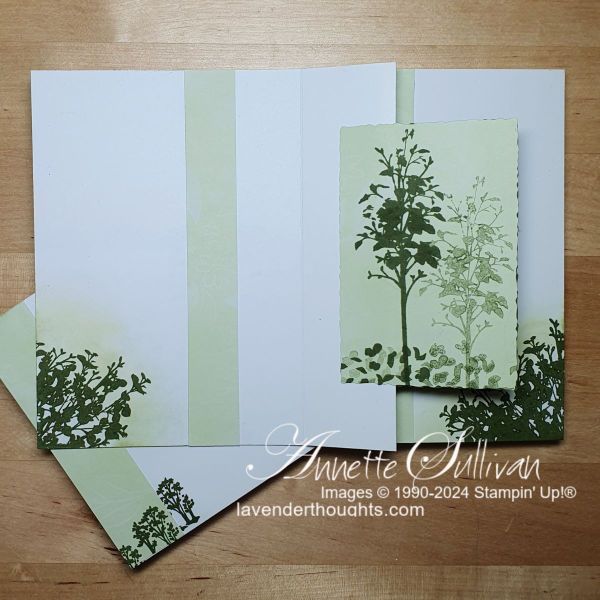
- The images on the inside layers are also from set. The centre layers were cut with the Deckled Rectangles dies and the thin strips (Soft Sea Foam) are from the Subtles DSP pack.


Card 2:
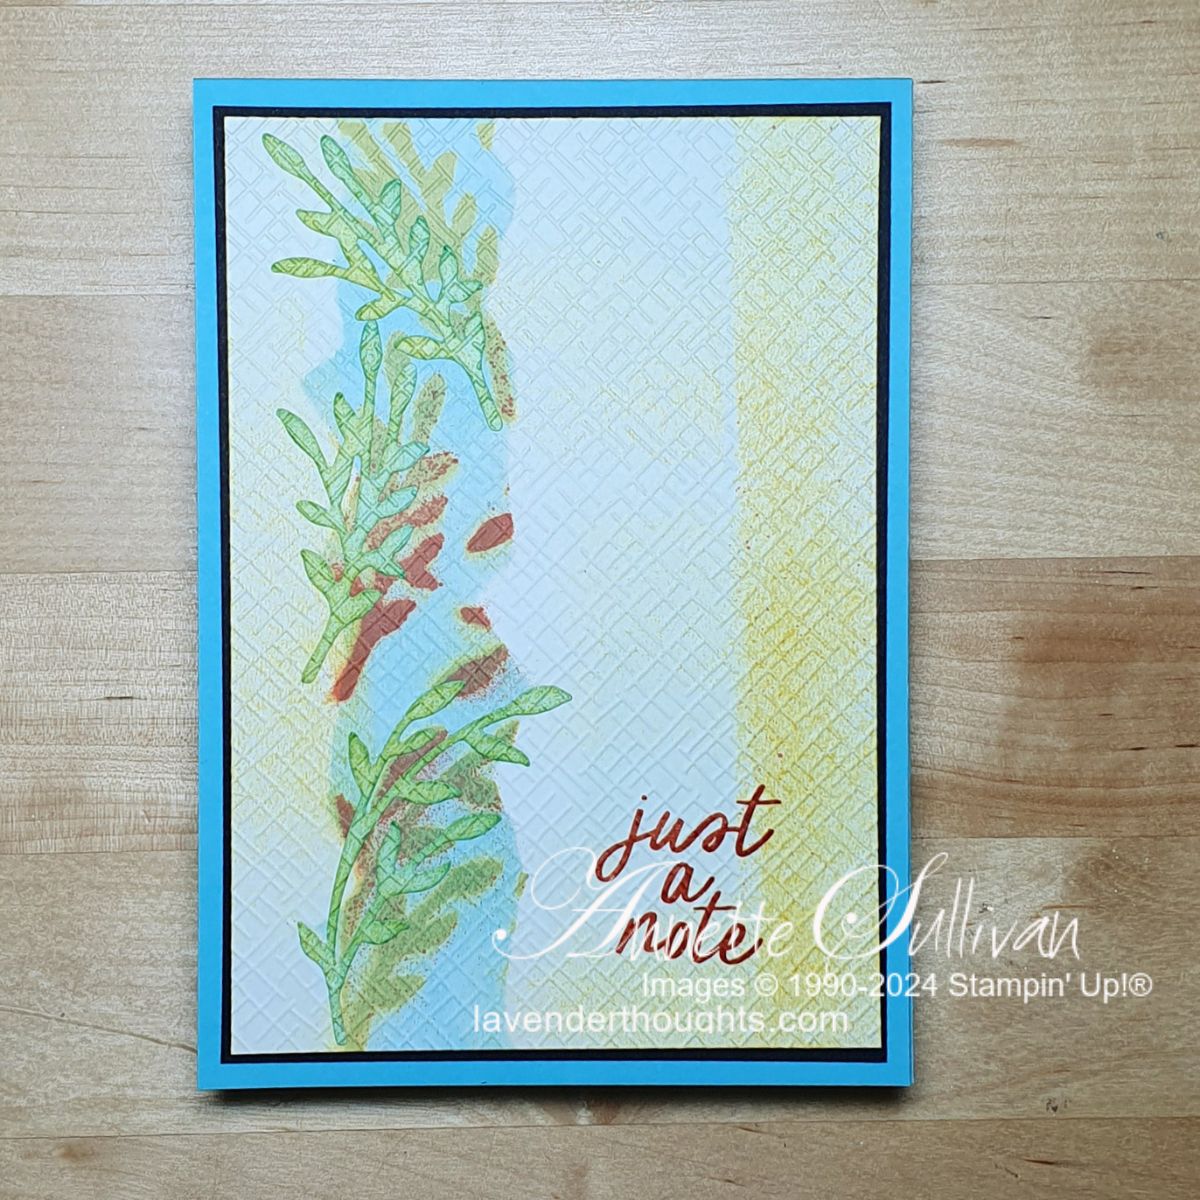
- There is a lot of texture on this card starting with the Faux Tearing technique.
- Start with a piece of Basic White cardstock and a strip of masking tape.
- Tear the masking tape to create uneven edges and attach the pieces to the cardstock about 3cm (1¼”) apart.
- Use two of the leafy dies to die cut a number of them from a piece of Basic White 21cm x 5.5cm (8½” x 2¼”). Keep the leaves for the next part of this project.
- Place the negative panel over the centre of the masked panel and spritz separately with Crushed Curry and Cajun Craze inks mixed with isopropyl alcohol. Once dry use a Blending Brush with Balmy Blue ink over the spritzed leaves.
- Remove the masks and colour the rest of the panel with Daffodil Delight ink and a Blending Brush.
- Stamp the sentiment from Simply Said in the lower right hand corner with Cajun Craze ink.
- Take the die cut leaves and colour with Blending Brushes and Balmy Blue and Daffodil Delight inks. This blend creates a lovely shade of green. Add the coloured leaves around the spritzed leaves.
- Emboss the panel with the ‘crosshatch’ Basics 3D Embossing Folder.
- Attached to a piece of Basic Black and a card base of Balmy Blue.
- Die cut one of the ‘leafy hill’ dies with Basic White cardstock and colour green with Blending Brushes and Balmy Blue and Daffodil Delight inks. Attach to a white layer for the inside of the card.

Card 3:
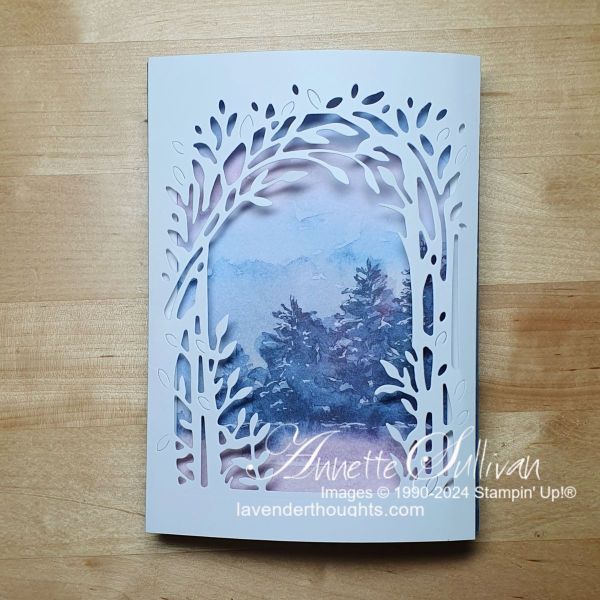
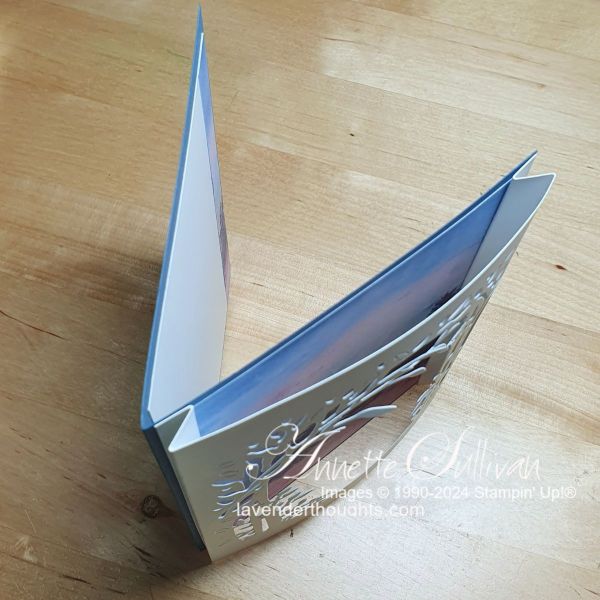
- This one is a little like a faux shadow box. I have also seen it called a ‘bendy’ fun fold.
- The Thoughtful Journey DSP creates the perfect layer for behind the leafy arch.
- Attach the DSP to a Misty Moonlight card base.
- To create the ‘bendy’ effect, take a piece of Basic White cardstock that is as wide as the card front – 10.5cm (4¼”) plus 4cm (1½”) by the length of the card. This makes it 14.5cm x 14.8cm (5¾” x 5½”).
- Score each side at 1 cm and 2 cm (3/8″ and ¾”).
- Centre the leafy arch die on the panel and die cut.
- Burnish the score lines – valley then mountain on each side and attach over the DSP layer. (See the third picture below.)
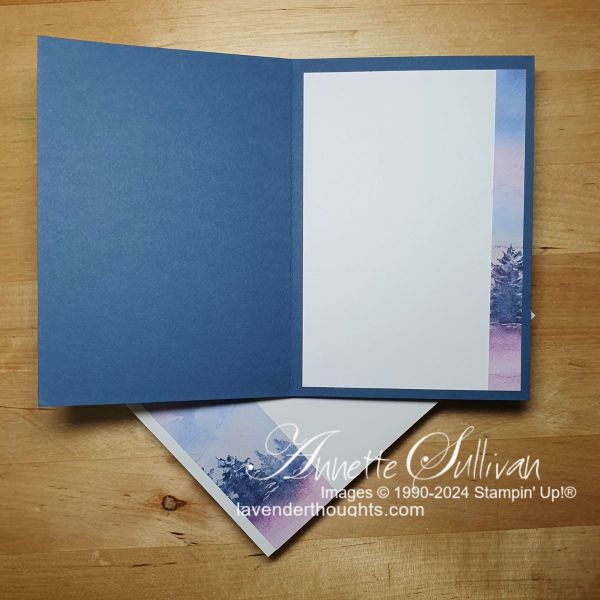
- Decorate inside and envelope as desired and add sentiment. I have left this until I decide how I will use the card.
Card 4:
- This is the start of my Christmas cards for the year. It is never to early to start!
- Die cut four leafy branches each from Basic White, Old Olive and Shaded Spruce.
- Use Old Olive and Shaded Spruce Stampin’ Blends alcohol markers to randomly colour the white die cuts.
- Emboss a piece of Crumb Cake cardstock with the Birch Wood 3D Embossing Folder and attach to a Shaded Spruce card base. (This embossing folder will be available to purchase in September when the 2024 September-December Mini Catalogue goes live.)
- Join the Shaded Spruce leafy die cuts to form a wreath shape. Do the same with the Old Olive and coloured white die cuts. Attach the three wreath shapes together for some dimension and add to the embossed card front.
- Stamp a sentiment from Greetings of the Season (now available in the Online Exclusives section of the online shop) with Cherry Cobbler ink on Basic White cardstock. Die cut with one of the Unbounded Love Dies and add below the wreath with Dimensionals.
- Colour a piece of Linen Thread and some Basic Rhinestones with the Dark Cherry Cobbler Stampin’ Blends alcohol marker.
- Tie a bow with the Linen Thread and add to the sentiment panel.
- Randomly place the coloured rhinestones around the wreath.
- Die cut one of the ‘leafy’ hill dies with Basic White. Colour the leaves in the same way that the white wreath pieces were coloured. Colour the ‘hill’ with Shaded Spruce Stampin’ Blends alcohol markers. Attach to a piece of Basic White for the inside of the card.
- Stamp a sentiment on the inside panel with Cherry Cobbler ink.


Click on the picture below to download the PDF of the current catalogue or click on Shop Now to go to my online shop.

Current Promotions: