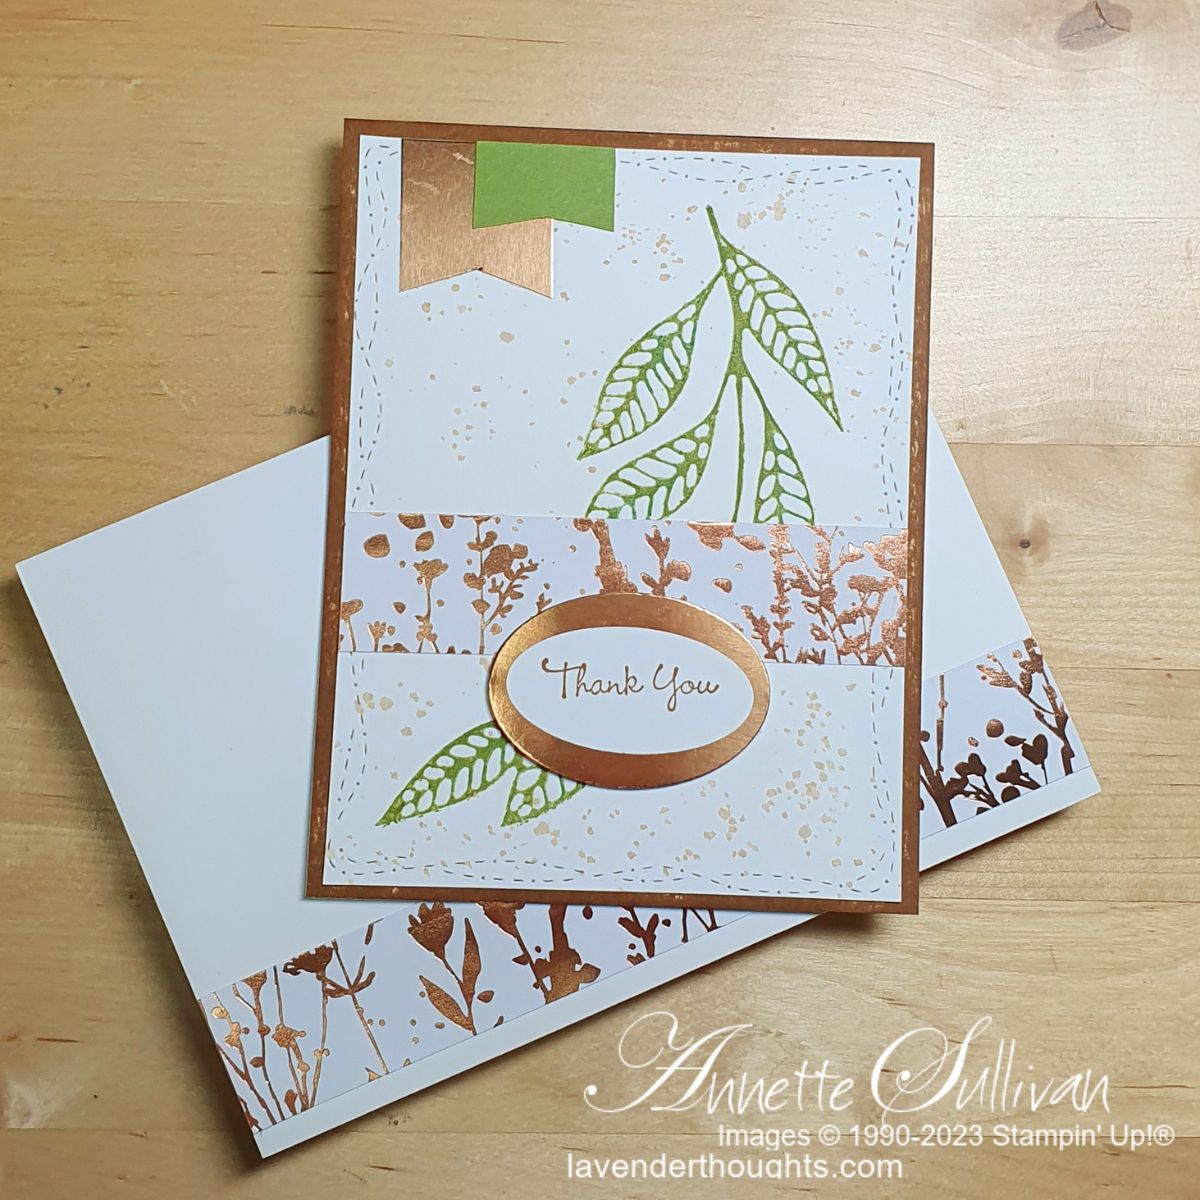
This card which I made for a recent Splitcoaststampers Sketch Challenge uses the Die Cut Letterpress Technique.
Tips:
- Letterpress is a technique where ink is placed on an image and pressed into the paper – creating a debossed look but coloured with ink. It creates a much deeper impression than just using the die to emboss.
- The large branch die from Artistic Dies was used here for the Die Cut Letterpress Technique.
- Die Cut Letterpress Technique:
- Cut 2 layers of cardstock and 1 layer of vellum with the die. Adhere together with the vellum on top.
- Colour the vellum with ink.
- Each die cutting machine will have its own sandwich – check out their instructions. The following works for me with the Big Shot.
- Emboss using the following sandwich:
- Big Shot Platform with Tab 2 open (or with the new platform – no adapters)
- White Impressions Pad
- Thin Silicone Mat
- Cardstock (very lightly misted with water on both sides to prevent cracks)
- Die cut with ink on the vellum side face down on cardstock
- Acrylic Plate
- The layered die cut can be used many times as the ink on the vellum will not affect future pressings.
- The die cut letterpress panel was then run through a Stitched with Whimsy Die, splattered with Pecan Pie ink and a Water Painter and attached to a Pecan Pie card base.
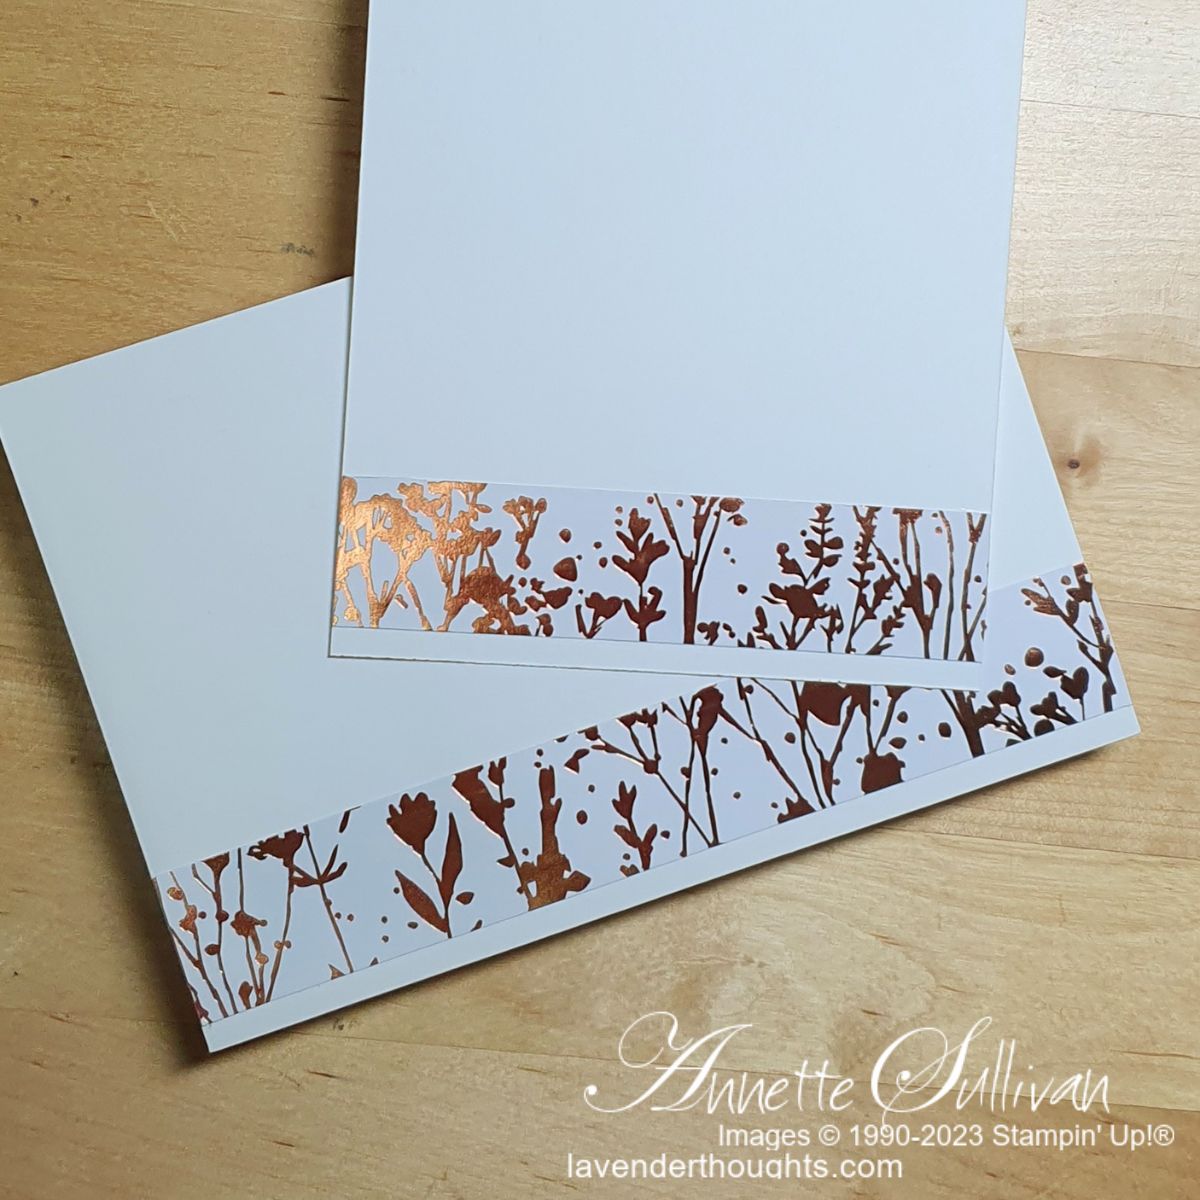
- A strip of Naturally Gilded Specialty Paper was added across the panel.
- Copper Foil was used for a banner piece and the oval layer behind the sentiment.
- Supplies:
- Stamp Set: Go To Greetings
- Cardstock: Pecan Pie, Basic White, Old Olive, Copper Foil, Naturally Gilded Specialty Paper
- Ink: Pecan Pie, Old Olive
- Accessories: Artistic Dies, Stitched with Whimsy Dies, Water Painter, Dimensionals, Extra Large Oval and Large Oval Punches.
… inside and envelope
Click on the picture below to download the PDF of the current catalogues or click on Shop Now to go to my online shop.

Current Promotions: