I recently showed you how to use die cuts with the Letterpress Technique in this post. Today I am going to show you how to use the same technique with punched shapes.

Tips:
- Letterpress is a technique where ink is placed on an image and pressed into the paper – creating a debossed look but coloured with ink.
- The technique works the same way for both die cuts and punched shapes.
- I used both the images from the Bough Punch for this card.
- Die Cut / Punched Shapes Letterpress Technique:
- Cut 2 layers of cardstock and 1 layer of vellum with the punch. Adhere together with the vellum on top.
- Colour the vellum with ink.
- Each die cutting machine will have its own sandwich – check out their instructions. The following works for me with the Big Shot.
- Emboss using the following sandwich:
- Big Shot Platform with Tab 2 open (or with the new platform – no adapters)
- White Impressions Pad
- Thin Silicone Mat
- Watercolor Paper (very lightly misted with water on both sides to prevent cracks)
- Punched shapes with ink on the vellum side face down on watercolor paper.
- Acrylic Plate
- Use panel as desired.
- The layered punched shapes can be used many times as the ink on the vellum will not affect future pressings.
- Supplies:
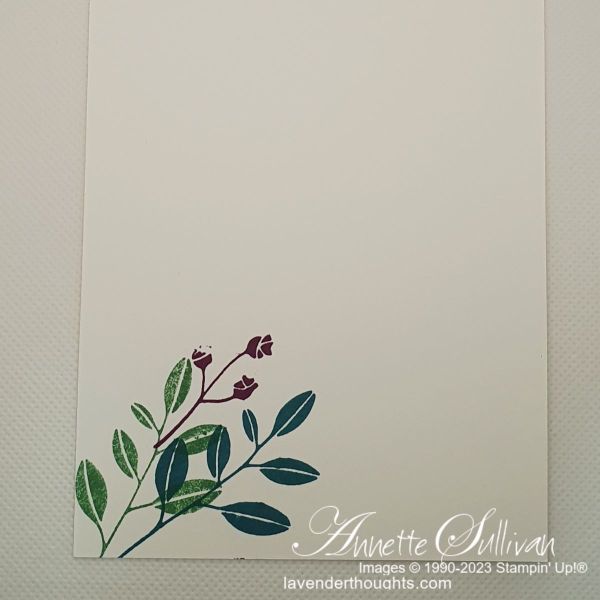
- Stamp Set: Layering Leaves
- Cardstock: Thick Basic White, Basic Black, Sahara Sand, Basic White, Watercolor Paper,
- Ink: Blackberry Bliss, Pretty Peacock, Garden Green
- Accessories: 1¼” Circle Punch, Water Painters, Bough Punch, Deckled Rectangles Dies, Dimensionals
… inside
Click on the picture below to download the PDF of the current catalogues or click on Shop Now to go to my online shop.

Current Promotions: