Do you use your Embossing Folders often and for different techniques? Today I have used the Exposed Brick 3D Embossing Folder as a background for images from Irresistible Blooms.

Tips:
- Die cut a piece of Basic White cardstock with the circle die from Irresistible Blooms Dies.
- Use one of the Stylish Shapes Dies to cut a circle from the piece cut from the centre.
- Emboss the die cut panel and then lightly dab a Pebbled Path ink pad over the raised areas.
- Take a piece of 2023-2025 In Color DSP and attach it to the back of the die cut panel so that it shows through the centre.
- Attach the panel to a Moody Mauve card base.
- Add the small die cut circle with Dimensionals.
- Stamp a flower with Moody Mauve ink and die cut with the matching die. Add some Wink of Stella.
- Die cut some leaves from the Hello Irresistible DSP.
- Attach the flowers and leaves to the small circle.
- Stamp a sentiment on Basic White with Pebbled Path ink and flag each end, Use a sponge or Blending Brush to add some Moody Mauve ink.
- Attach the sentiment with Dimensionals.
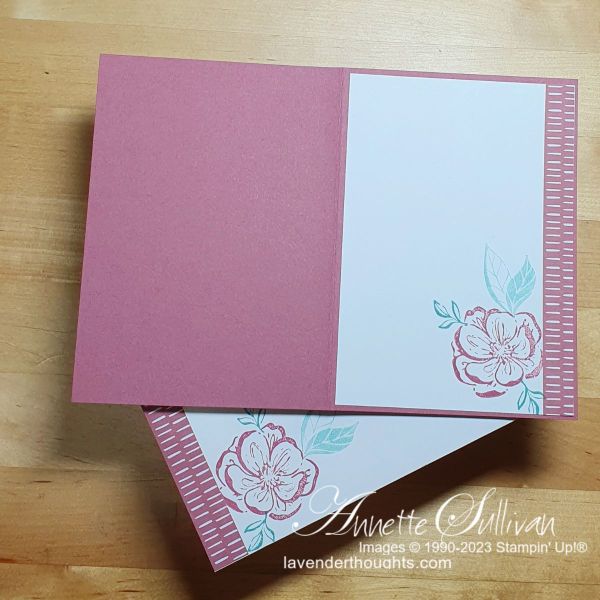
- Decorate the inside and envelope to match.
- Supplies:
- Stamp Set: Irresistible Blooms
- Cardstock: Moody Mauve, Basic White, 2023-2025 In Color DSP, Hello Irresistible DSP
- Ink: Moody Mauve, Pebbled Path
- Accessories: Irresistible Blooms Dies, Exposed Brick 3D Embossing Folder, Stylish Shapes Dies, Wink of Stella, Dimensionals
… inside and envelope
Click on the picture below to download the PDF of the current catalogue or click on Shop Now to go to my online shop.

Current Promotions:

